Mixing and Mastering Engineer Matty Harris
Are you ready to take your music mixes to the next level? Whether you’re a budding musician or an experienced artist, knowing how to mix your music like a pro can make all the difference. Mixing is the art of blending and enhancing audio tracks to create a polished and professional sound.
If you want to achieve that pro-level sound, it’s essential to understand the fundamentals of mixing and learn from experienced mixing engineers. In this article, I’ll share some valuable tips and techniques that will help you mix your music like a pro.
Key Takeaways:
- Understanding the difference between production and mixing
- Clear communication with the mix engineer
- Sending organized and properly labeled tracks
- Learning and applying basic mixing techniques
- Utilizing the tools in your DAW and plugins
Understand the Difference between Production and Mixing
Before sending your tracks to a mix engineer, it’s essential to understand the difference between production and mixing. The production phase involves working out the musical parts, recording performances, and addressing any subpar elements in the recordings. This includes tasks such as tuning vocals, compiling or comping performances, and addressing any rhythmic issues. By finalizing the recordings in the production phase, you set a solid foundation for the mix engineer to work with.
Tuning vocals ensures that they are in pitch and sound polished, while compiling or comping performances involves selecting the best parts from multiple takes to create a cohesive and dynamic performance. Additionally, addressing rhythmic elements, such as aligning drum hits or tightening up timing, enhances the overall groove of the track.
By taking care of these aspects in the production phase, you allow the mix engineer to focus solely on enhancing the musical performance and achieving the best possible sound quality. This clear distinction between production and mixing ensures that each stage of the music-making process receives the attention and expertise it requires.
“Production refers to working out the musical parts, recording performances, and addressing any subpar elements, while mixing is focused on enhancing the musical performance and achieving the best sound quality.”
Communicate Exactly What You Will Be Sending
When collaborating with a mixing engineer, effective communication is crucial to ensure a successful outcome. To facilitate the process, it is important to clearly communicate what you will be sending to the engineer. This includes:
- Sending Tracks: Specify whether you will be sending the entire DAW session or individual audio files. This allows the engineer to prepare accordingly and ensures compatibility with their preferred workflow.
- DAW Files: If you are sending a DAW session, provide the necessary files along with any relevant information regarding the session settings and configurations. This ensures that the engineer can load and work with your project without any issues.
- Reference Track: Include a reference track that represents the desired sound and style you want to achieve in your final mix. This helps the engineer understand your artistic vision and guides them in crafting the right mix for your project.
- Rough Mix: If you have a rough mix that captures the energy and vibe of the original recording, it can be immensely helpful to provide it to the mix engineer. This gives them valuable insight into your creative intentions and serves as a starting point for the final mix.
By communicating exactly what you will be sending to the mix engineer, you establish clear expectations and provide them with the necessary tools to deliver the best possible outcome for your project.
Example:
“I will be sending you the individual audio files for each track in WAV format. Additionally, I’ve included a reference track that exemplifies the desired sound and a rough mix that captures the energy of the original recording. I hope these resources will assist you in creating a mix that aligns with my artistic vision.”
Now that you have communicated what you will be sending, it’s important to focus on organizing your files and using a reliable file transfer service. This will ensure a seamless delivery process and set the foundation for a successful collaboration.
Send Everything Organized and Use a File Transfer Service
How to Send Files to Mixing Engineer
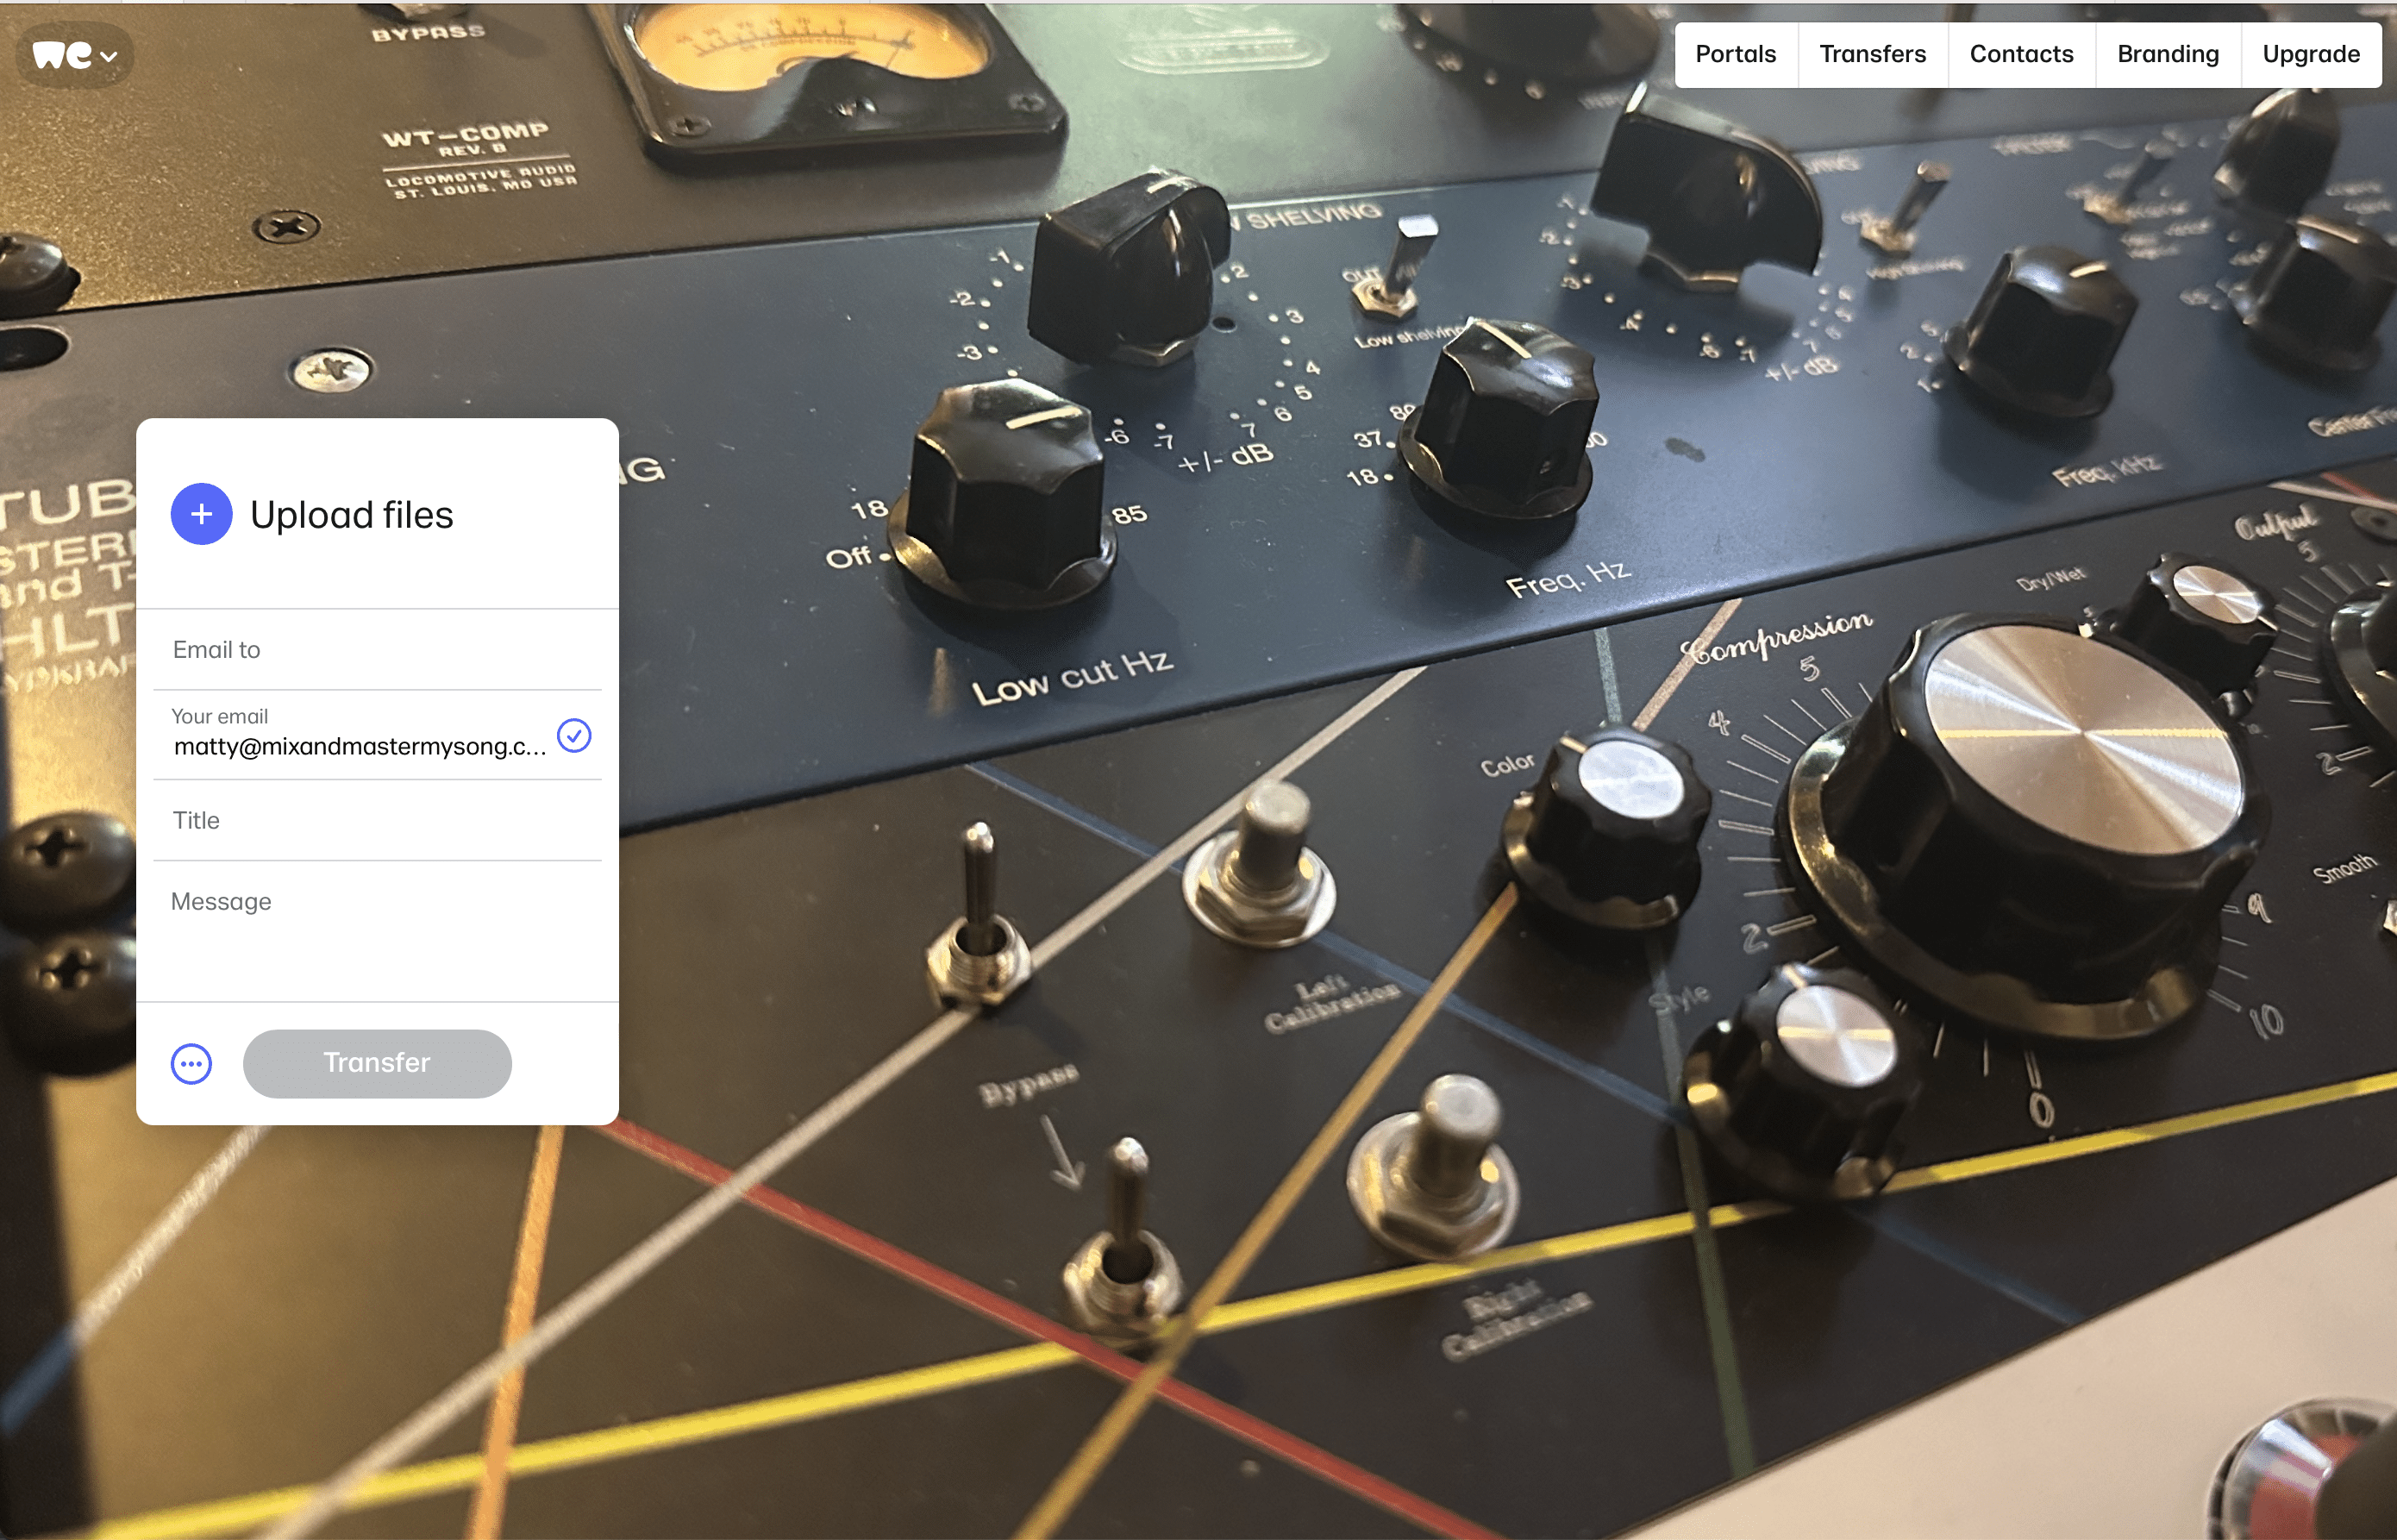
To ensure a smooth and efficient process for the mix engineer, it is crucial to send your music tracks in an organized manner. By organizing your tracks and utilizing a reliable file transfer service, such as WeTransfer or Dropbox, you can streamline the delivery of your files and enhance collaboration with the mixing professional.
When sending your tracks, it’s important to number them and ensure that they are properly named. This allows for easy import and arrangement, saving time for the mix engineer. Additionally, using a consistent naming convention across all songs facilitates the sharing of settings between tracks, ensuring consistency in your mix.
Include a detailed document that outlines the track numbering system, providing the mix engineer with valuable insights and any specific notes regarding the tracks. This document serves as a guide, helping the mix engineer understand your vision and make informed decisions during the mixing process.
Finally, choose a reliable file transfer service that the mix engineer is familiar with. Services like WeTransfer and Dropbox provide a secure and efficient way to deliver your files. By utilizing these file transfer services, you can ensure the safe and timely delivery of your tracks, maintaining the integrity of your work.
By sending everything organized and using a trusted file transfer service, you can optimize the mixing process and enhance collaboration with the mix engineer. This attention to detail and efficient delivery method sets the foundation for a successful mix, bringing your music to life in a professional and polished manner.
Edit and Consolidate Ready for Export
Before exporting your tracks, it’s important to determine who will be responsible for editing. Clarify with the mix engineer if editing is included in the service or if it will incur an additional cost. If you’re handling the editing, make sure to crossfade each edit to avoid clicks and pops. Include both dry and effected tracks, allowing the mix engineer flexibility in recreating or enhancing effects. Finally, consolidate each track to start at the beginning of the session, ensuring proper alignment and easy import for the mix engineer.
“Editing is an essential step in preparing your tracks for export. Whether you choose to do the editing yourself or rely on the mix engineer, it’s crucial to ensure that your tracks are clean, cohesive, and ready for the mixing process.”
Crossfade Edits: When editing your tracks, be sure to create smooth transitions between edits by applying crossfades. This technique helps to avoid any audible glitches, clicks, or pops that can occur when abruptly joining two audio regions.
Include Dry and Effected Tracks: Providing both dry and effected tracks gives the mix engineer the flexibility to work with your original sound or enhance it with additional effects. This allows for more creative possibilities and ensures that your final mix accurately represents your artistic vision.
Consolidate Tracks: To facilitate the mixing process, consolidate each track to start at the beginning of the session. This ensures that all the elements of your song line up correctly and can be easily imported by the mix engineer. Consolidating tracks also helps in managing the overall session size and organization, making it easier to navigate and edit.
Editing and Consolidation Checklist
| Task | Description |
|---|---|
| Crossfade Edits | Apply crossfades to create smooth transitions between edits. |
| Include Dry and Effected Tracks | Provide both the dry and effected versions of your tracks. |
| Consolidate Tracks | Ensure each track starts at the beginning of the session for easy import. |
“By following these editing and consolidation practices, you’ll set a solid foundation for a successful mixing process. Clear edits, multiple track versions, and organized consolidation allow the mix engineer to work efficiently and bring your music to its full potential.”
Export Tracks in the Correct Format
When it comes to exporting your tracks, using the correct format and settings is essential to ensure the best possible outcome. Follow these guidelines to optimize your track exports:
1. Choose WAV Format
Export your tracks in WAV format, which is the universal standard for audio files. WAV files preserve the highest audio quality and compatibility across different platforms and software.
2. Match Sample Rate and Bit Depth
Ensure that the sample rate and bit depth of your exported tracks match the session settings of your project. Consistency in these settings helps maintain the integrity of your audio throughout the mixing and mastering process.
3. Export Mono as Mono and Stereo as Stereo
If you have mono sources, export them as mono tracks. Similarly, export stereo sources as stereo tracks. Avoid exporting everything as stereo, as it can complicate the mix engineer’s workflow and potentially degrade the audio quality.
4. Include a Tempo Map
For tracks with time-dependent effects or tempo-synced elements, it’s crucial to include a tempo map. Export the tempo map in MIDI format or as a text document to provide essential timing information for the mix engineer. This ensures accurate synchronization of time-based effects during the mixing process.
Exporting your tracks in the correct format and adhering to these guidelines sets the stage for a seamless mixing process. It allows the mix engineer to work with high-quality audio and ensures the preservation of your artistic vision.
Establish an Organized Folder and File Delivery System
To efficiently deliver your files to the mix engineer, it is crucial to establish an organized folder and file delivery system. By following a systematic approach, you can ensure a smooth and effective file delivery process. Here are the key steps to follow:
Create a Main Project Folder
Start by creating a main project folder with the title of your project. This folder will serve as the central hub for all your files related to the project. It provides a clear and organized structure for easy navigation and access. Choose a concise and descriptive name for the folder that represents the project accurately.
Create Subfolders for Each Song
Within the main project folder, create subfolders for each individual song in your project. Name these subfolders with the correct final song title. This helps to maintain consistency and avoid confusion when accessing specific songs. By organizing your files in this way, you can quickly locate and manage the tracks associated with each song.
Number the Subfolders
Number the subfolders in the order that the songs appear in your project. This numbering system allows for easier referencing and facilitates the mixing and mastering processes. It ensures that the mix engineer can identify and access the correct files without any ambiguity. The numbered subfolders also provide a logical sequence for the overall project structure.
Place Exported Tracks and Related Documents
Once you have exported your tracks, place them in their respective song folders within the main project folder. Ensure that the tracks are correctly labeled and named for easy identification. Additionally, include any accompanying text documents, such as track notes or reference materials, in the appropriate song folders. This consolidation of files within specific folders keeps everything organized and accessible.
Include Tempo Maps
To provide essential timing information for time-dependent effects, include tempo maps in your file delivery. These can be in MIDI format or as a separate text document. The tempo map helps the mix engineer sync up different elements in the project and maintain the desired tempo throughout the mix. By including this information, you ensure accurate and cohesive timing in the final mix.
By establishing an organized folder and file delivery system, you streamline the process of delivering your files to the mix engineer. This level of organization enables efficient collaboration and ensures that your files are easily accessible and manageable. A well-structured file delivery system is a crucial component of a successful mixing workflow.
| Benefits of an Organized File Delivery System |
|---|
| Efficient collaboration with the mix engineer |
| Easier access to specific files |
| Reduced confusion and ambiguity |
| Improved workflow and productivity |
| Consistent labeling and naming conventions |
Understand the Preferred File Transfer Method and Turnaround Time
When sending your files to the mix engineer, it’s crucial to clarify their preferred file transfer method. This ensures a smooth and efficient delivery process, reducing any potential delays or misunderstandings. Some mix engineers may prefer to use a file transfer service, such as WeTransfer or Dropbox, while others may prefer physical storage devices like hard drives or USB sticks. By understanding their preference, you can choose the most convenient method for both parties involved.
In addition to the file transfer method, it’s important to establish the expected turnaround time for receiving the first version of the mixed project. This allows you to plan your schedule accordingly and avoid any unnecessary anxieties. Clarify with the mix engineer the estimated time it will take for them to complete the initial mix. Keep in mind that turnaround time may vary depending on the complexity and length of the project, so it’s essential to have a clear understanding to manage your expectations.
Furthermore, it’s beneficial to inquire about the number of mix revisions included in the cost. Mix revisions are opportunities to make adjustments to the mix based on your preferences. Understanding the number of revisions available allows you to fine-tune the mix to your desired outcome. Keep in mind that excessive revisions may incur additional costs, so it’s important to discuss this aspect upfront to avoid any surprises.
By understanding the mix engineer’s preferred file transfer method, establishing the turnaround time, and being aware of the number of mix revisions available, you can ensure a smooth collaboration and optimize your mix delivery process.
Learn the Basics of Mixing Techniques
To mix music like a pro, it’s essential to familiarize yourself with the fundamental mixing techniques. By understanding how to use EQ, compression, reverb, and automation, you can shape and enhance your sound to achieve professional results.
1. EQ (Equalization)
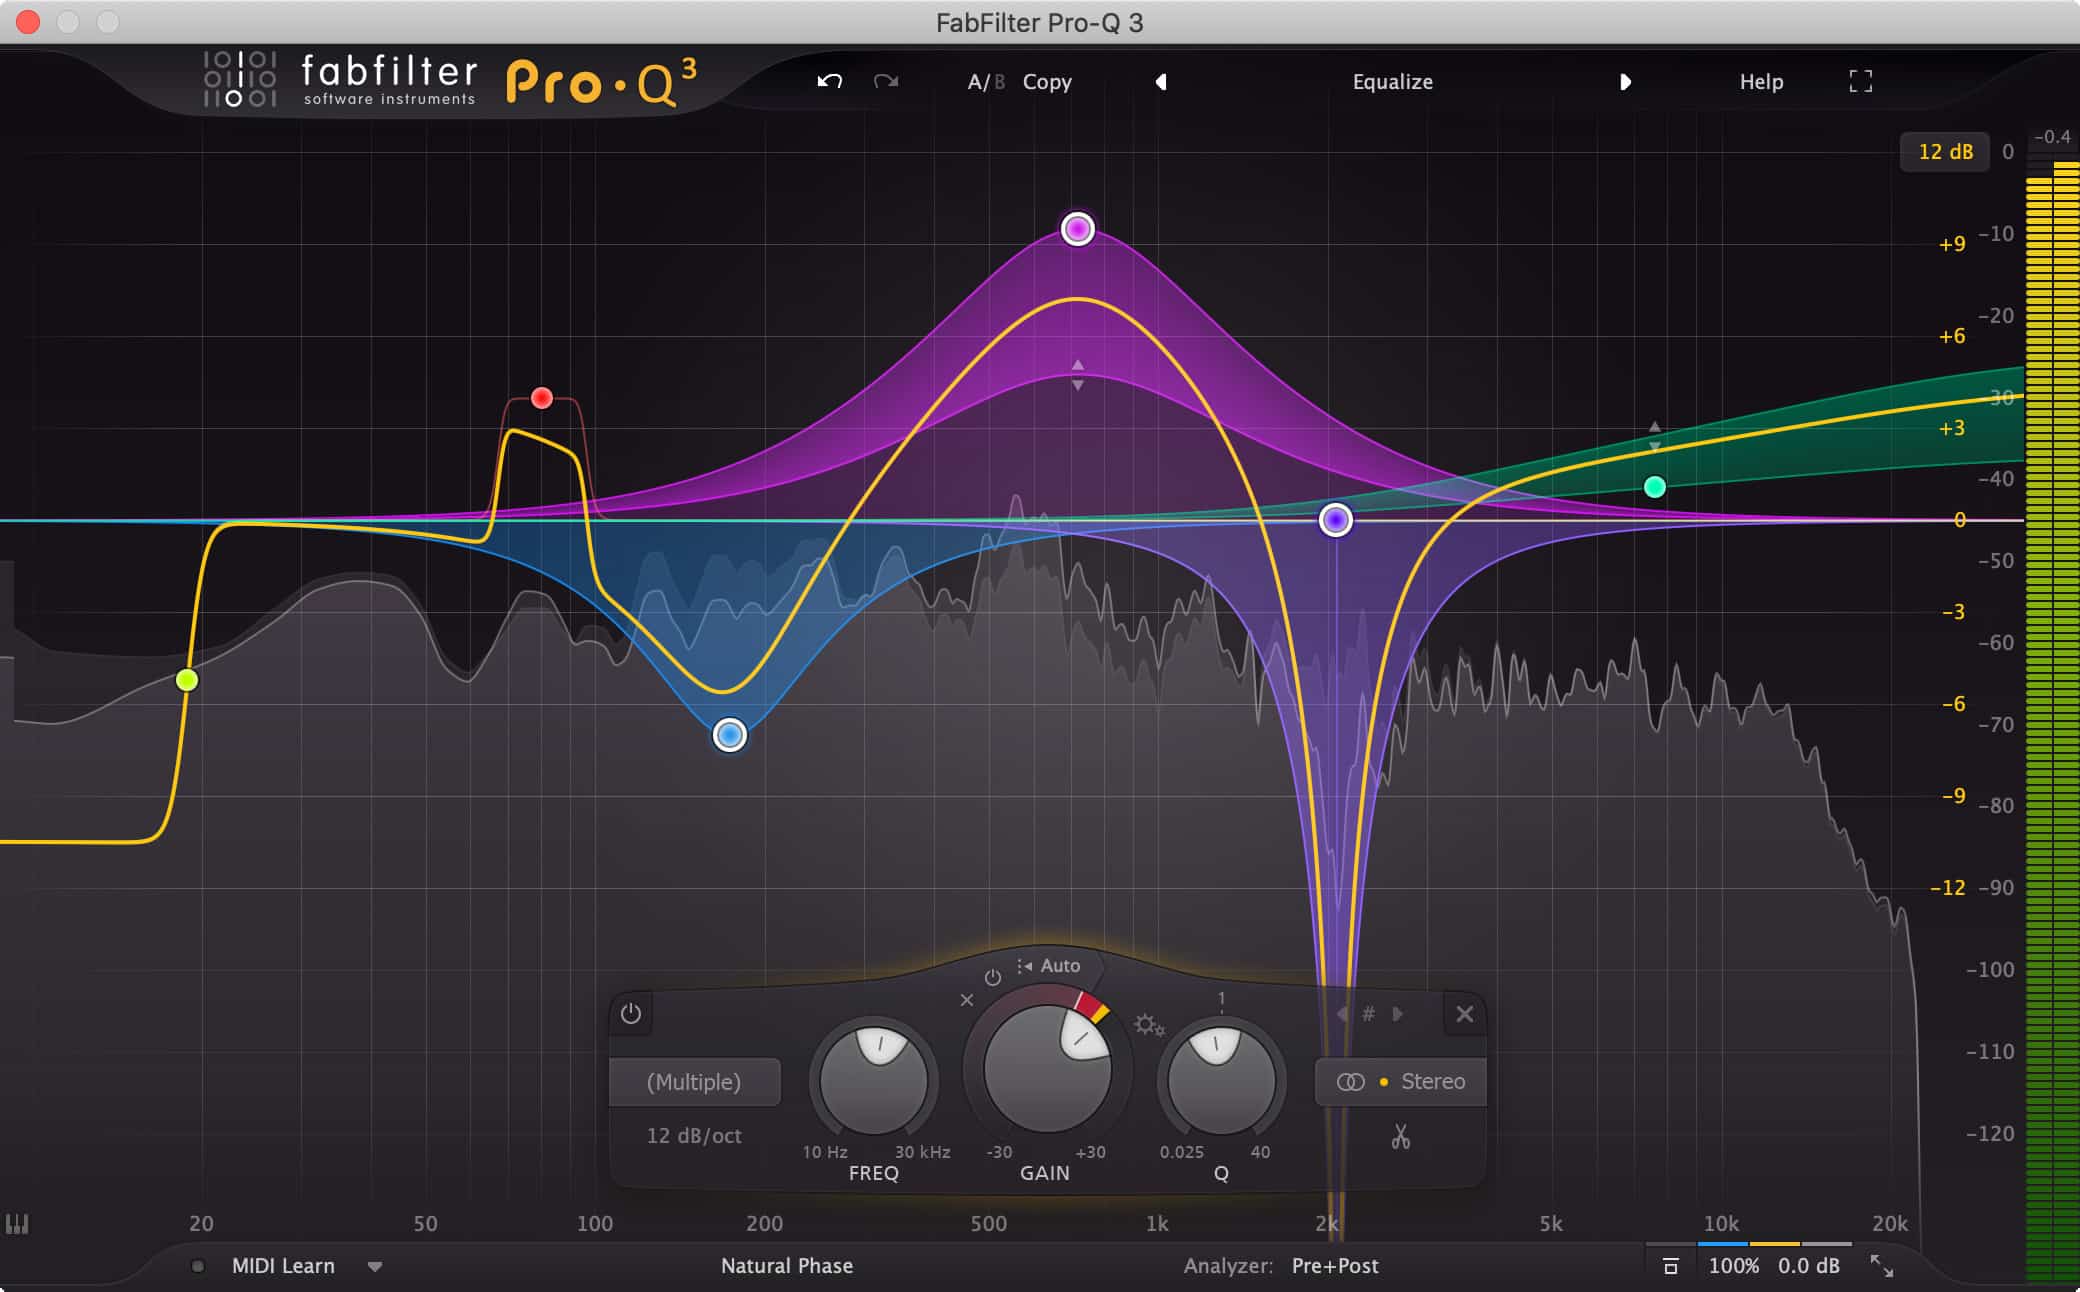
EQ is a powerful tool that allows you to adjust the frequency balance of individual sounds in your mix. By boosting or cutting specific frequencies, you can create clarity and separation, ensuring each element occupies its own sonic space. Experiment with different EQ settings to achieve the desired tonal balance and eliminate any unwanted frequency build-up.
2. Compression
Compression helps control the dynamic range of your audio by reducing the difference between the loudest and softest parts. It evens out the levels and adds sustain to instruments, vocals, and overall mix. Use compression to create a more balanced and polished sound, ensuring that no elements get lost in the mix.
3. Reverb
Reverb adds depth and space to your mix by simulating the natural acoustics of different environments. It can make your sounds feel like they were recorded in a specific room or create a sense of ambience. Experimenting with different reverb settings can add dimension and realism to your mix.
4. Automation
Automation allows you to make precise adjustments to volume, panning, and effects throughout your mix. By automating different parameters, you can add movement and dynamics to your songs, emphasizing certain moments or elements. Take advantage of automation to bring out the best in your mix and create a memorable listening experience.
Incorporating these mixing techniques into your workflow forms the foundation for a professional-sounding mix. continued below.
“Mixing is like painting with sound, and these techniques are the brushes and colors that help you create your sonic masterpiece.” – Eli Smith, Grammy-winning mixing engineer
Recommended Mixing Techniques Resources:
- 1. Book: “Mixing Secrets for the Small Studio” by Mike Senior
- 2. Online Course: “Mixing with EQ” on SoundGym
- 3. YouTube Tutorial: “Compression Tips and Techniques” by Warren Huart
- 4. Podcast: “The Mastering Show” by Ian Shepherd and Jon Tidey
| Mixing Technique | Description |
|---|---|
| EQ | Adjust the frequency balance of sounds for clarity and separation. |
| Compression | Control the dynamic range and add sustain to instruments and vocals. |
| Reverb | Add depth and space to the mix by simulating different environments. |
| Automation | Precisely adjust volume, panning, and effects for dynamic and engaging mixes. |
Use the Tools in Your DAW and Plugins
Your digital audio workstation (DAW) and plugins are essential tools for achieving professional-quality mixes. Understanding the functions and capabilities of your DAW mixer, as well as exploring the various plugins available, can greatly enhance the sound of your music. Let’s take a closer look at how you can make the most of these powerful tools.
1. Familiarize Yourself with Your DAW Mixer
In your DAW, the mixer is where you control the volume, panning, and overall balance of your tracks. It’s important to become familiar with the various features of your DAW mixer, including faders, panning controls, and auxiliary sends and returns. These controls allow you to shape the individual elements of your mix and create a balanced and cohesive sound.
2. Explore Different Plugins
Plugins are additional tools that you can use within your DAW to shape and enhance the sound of your tracks. There are a wide variety of plugins available, ranging from EQ and compression to reverb and delay. Experimenting with different plugins can help you achieve the desired tonal balance, dynamics, and spatial effects in your mix.
While there are many third-party plugins on the market, don’t overlook the built-in plugins that come with your DAW. These plugins are often designed to work seamlessly with your DAW and can deliver professional-quality results.
3. Shape Your Sound with EQ, Compression, and Reverb
EQ, compression, and reverb are three essential tools for shaping the sound of your mix. EQ allows you to adjust the frequency balance of individual tracks, highlighting certain frequencies and reducing others. Compression helps control the dynamic range of your tracks, ensuring that quieter elements are brought up and louder elements are controlled. Reverb adds space and depth to your mix, simulating the acoustics of a physical environment.
4. Experiment with Different Techniques
Don’t be afraid to experiment with different techniques and settings within your DAW and plugins. Every mix is unique, and what works for one song may not work for another. Trust your ears and try out different combinations of plugins, settings, and processing techniques to find your own unique mixing style.
Summary
Using the tools in your DAW and plugins is crucial for achieving professional-quality mixes. Familiarize yourself with your DAW mixer, explore different plugins, and experiment with EQ, compression, and reverb to shape your sound. Remember to trust your ears and have fun exploring different techniques. With practice and experimentation, you’ll develop your mixing skills and create mixes that stand out.
Follow a Step-by-Step Mixing Workflow
To ensure a systematic and effective mixing process, it’s helpful to follow a step-by-step workflow. By following a structured and organized approach, you can achieve professional-level mixes. Below, I outline a recommended mixing workflow that covers key elements such as editing, static mix, EQ and compression, effects processing, clean-up, and export.
1. Choose the Right Sounds and Elements
Begin by selecting the appropriate sounds and elements for your mix. This involves identifying the individual tracks and instruments that need to be mixed together. Take time to listen to each track and determine its importance to the overall mix. Remember, a well-balanced mix starts with selecting the right elements.
2. Edit and Clean Up the Recordings
Before diving into the mix itself, it’s important to edit and clean up your recordings. This includes removing any unwanted noises, clicks, pops, or background disturbances. Additionally, check for any timing issues or discrepancies in the performances and make necessary edits to ensure a cohesive and polished sound.
3. Create a Static Mix
Once the recordings are edited, it’s time to create a static mix. This involves adjusting the levels and panning positions of each track to achieve a decent balance between them. It’s important to focus on achieving clarity and separation in the mix, ensuring that each element can be heard clearly.
4. Apply EQ and Compression
After achieving a balanced static mix, it’s time to apply equalization (EQ) and compression to each sound source. EQ allows you to shape the frequency balance of individual tracks, while compression helps control the dynamic range and add consistency to the mix. Experiment with different EQ settings and compression ratios to achieve the desired tonal balance and dynamic control.
5. Add Effects Processing
Once the EQ and compression are in place, it’s time to enhance the mix with effects processing. Consider adding reverb, delay, modulation, and other effects to create depth, space, and ambiance. Be mindful of the context of the song and use effects tastefully to enhance the overall sound without overwhelming it.
6. Clean-Up and Export
Before finalizing the mix, take a moment to clean up any residual noise, clicks, or pops that may have been missed during the editing process. Pay attention to transitions between sections and ensure they are smooth and seamless. Once you’re satisfied with the mix, export it in the appropriate format and settings, ready for mastering or distribution.
In summary, following a step-by-step mixing workflow allows you to approach the process in an organized and structured manner. Starting with selecting the right sounds and elements, through editing, creating a static mix, applying EQ and compression, adding effects processing, and finishing with clean-up and export, each step contributes to achieving a professional-level mix. Make sure to take your time, experiment, and trust your ears throughout the process.
Conclusion
Mixing music like a pro mixing engineer requires careful attention to detail, effective communication, and streamlined organization. Understanding the difference between production and mixing sets the foundation for a successful mix. By clearly communicating your intentions and providing well-organized tracks, you can optimize the mixing process.
Following a step-by-step workflow, utilizing the tools in your DAW and plugins, and continuously honing your mixing techniques are key to achieving professional-level mixes. By leveraging the power of EQ, compression, reverb, and automation, you can shape and enhance your sound.
Remember, effective mix delivery and collaboration with the mixing engineer are crucial for achieving the best possible results. By optimizing your mix delivery process and maintaining open lines of communication, you can ensure a smooth and successful collaboration. With dedication and practice, you can elevate your mixes to the next level and mix like a pro.
FAQ
How can I mix music like a pro mixing engineer?
To mix music like a pro mixing engineer, it’s important to understand the difference between production and mixing, communicate clearly with the mix engineer, and send organized and properly labeled tracks.
What is the difference between production and mixing?
Production refers to the process of working out parts, recording, and fixing any subpar elements in the performances. Mixing focuses on enhancing the musical performance and achieving the best possible sound.
How should I communicate with the mix engineer?
Inform the engineer about the DAW files you’ll be sending, include a reference track, and if available, provide a rough mix that captures the energy of the original recording.
How should I send my tracks to the mix engineer?
Send everything organized and use a reliable file transfer service. Number your tracks, ensure they’re properly named, and include a detailed document outlining the track numbering system.
What should I consider when editing and consolidating my tracks?
Clarify with the mix engineer if editing is included or if it incurs an additional cost. Crossfade each edit to avoid clicks and pops, include both dry and effected tracks, and consolidate each track to start at the beginning of the session.
What format should I export my tracks in?
Export your tracks in WAV format, match the sample rate and bit depth to your session settings, and export mono sources as mono and stereo sources as stereo.
How can I establish an organized folder and file delivery system?
Create a main project folder with the project title and subfolders for each song. Number the subfolders in the order they appear in the project and place the exported tracks, text documents, and tempo maps in their respective song folders.
What is the preferred file transfer method and turnaround time?
Clarify with the mix engineer their preferred file transfer method and establish the expected turnaround time for receiving the first version of the mixed project.
What should I learn about mixing techniques?
Familiarize yourself with EQ to shape the frequency balance, compression to control the dynamic range, reverb to add space and depth, and automation to make adjustments over time.
How can I use the tools in my DAW and plugins?
Explore the functions of your DAW mixer, such as faders and panning, and experiment with different plugins, both built-in and third-party, to shape and enhance your sound.
What is a step-by-step mixing workflow?
Choose the right sounds, edit and clean up recordings, create a static mix, apply EQ and compression, add effects processing, and consider any necessary clean-up and export steps.
How can I optimize mix delivery?
Follow the best practices, communicate effectively, and collaborate with the mix engineer to achieve the best possible results.


