How to Create Future’s Vocal Effect Chain
I’ve always been fascinated by the unique vocal styles of various artists. One artist who particularly stands out is Future, known for his distinct sound that has captivated the hip-hop world. Recently, I stumbled upon a Sound on Sound Article by Seth Firkins, which opened my eyes to the intricacies of replicating Future’s signature vocal style. Here are my insights into mastering this vocal effect chain.
Starting with Auto-Tune
As Seth pointed out, the first step is using Auto-Tune. This is a non-negotiable in Future’s world. It’s not just about slapping on any Auto-Tune setting; it’s about understanding the subtlety and nuance that comes with it. I learned that finding the right balance is crucial – enough to give that characteristic pitch correction but not too much to make it sound artificial. Also, you must record the vocal with Auto-tune in order to create the desired effect.
The Magic of Slap Delay
Next up is the slap delay. This was a game-changer for me. Using an eighth-note slap delay, I managed to add a subtle yet effective bouncing effect to the vocals. The key here was not to overdo it. I used a repeater plugin and set the mix to about 5. It’s amazing how such a small adjustment can add depth and character to the vocals.
Analog Warmth with Channel Strip
The McDSP analog channel strip plugin came in handy for adding a bit of tape compression. This step is all about adding flavor and warmth to the vocals. It’s like seasoning a dish – a little goes a long way. I realized that this step is crucial to the Future’s Vocal Chain.
EQ Adjustments: Cutting and Boosting
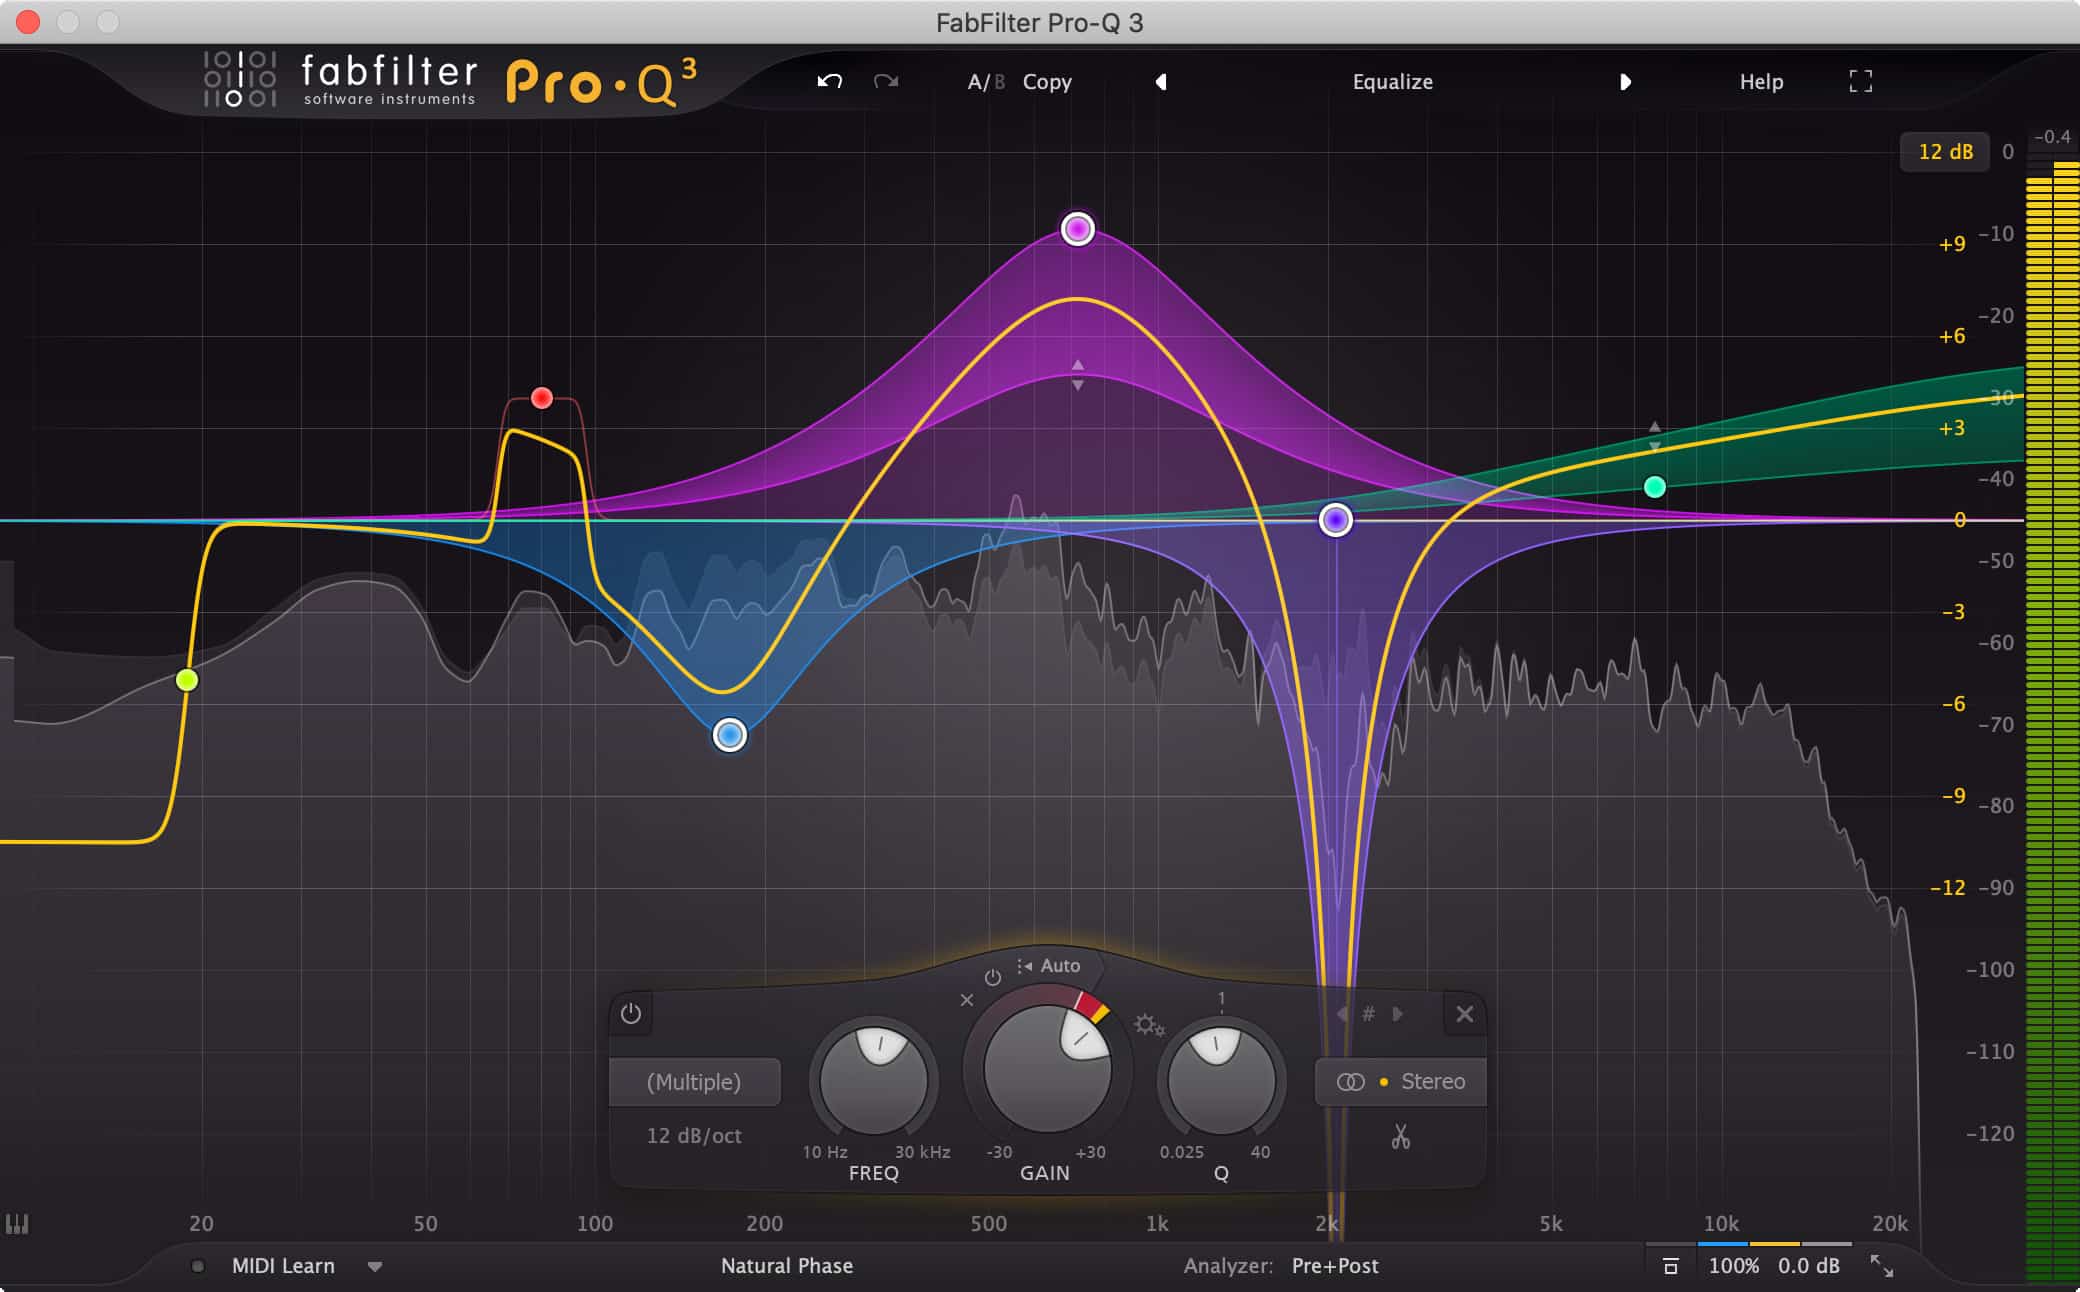
The EQ adjustments were perhaps the most technical part. Here’s what I did:
- Low-cut filter up to 129 Hz to clean up the lower end.
- A dip around 500 Hz to remove muddiness.
- A cut around 3,000 Hz to reduce harshness – a trick that seems specific to Future’s style.
- A high shelf boost around 7,000 Hz to make the vocals shine and sizzle.
The EQ is more than just adjusting frequencies; it’s about sculpting the sound to fit the artist’s unique style.
De-Essing: Taming the Sibilance
After boosting the high end, sibilance became more pronounced. The de-esser was my savior here. It helped me tame the excessive ‘s’ sounds without affecting the overall clarity of the vocals. This step requires a delicate touch to ensure that the vocals remain crisp and clear.
Compression for Control
Using Waves R-Comp, I managed to control the dynamics of the vocals. The trick is to use a fast attack and release to make the vocals stand out without squashing their natural dynamics. This step helped in making the vocals more consistent and punchy.
Reverb for Space
The reverb part was fun. I used a room reverb with a 19-millisecond pre-delay. This added a sense of space and depth to the vocals, making them feel more alive and less confined. The key was to keep the decay time short to avoid muddiness.
Flanger for Width
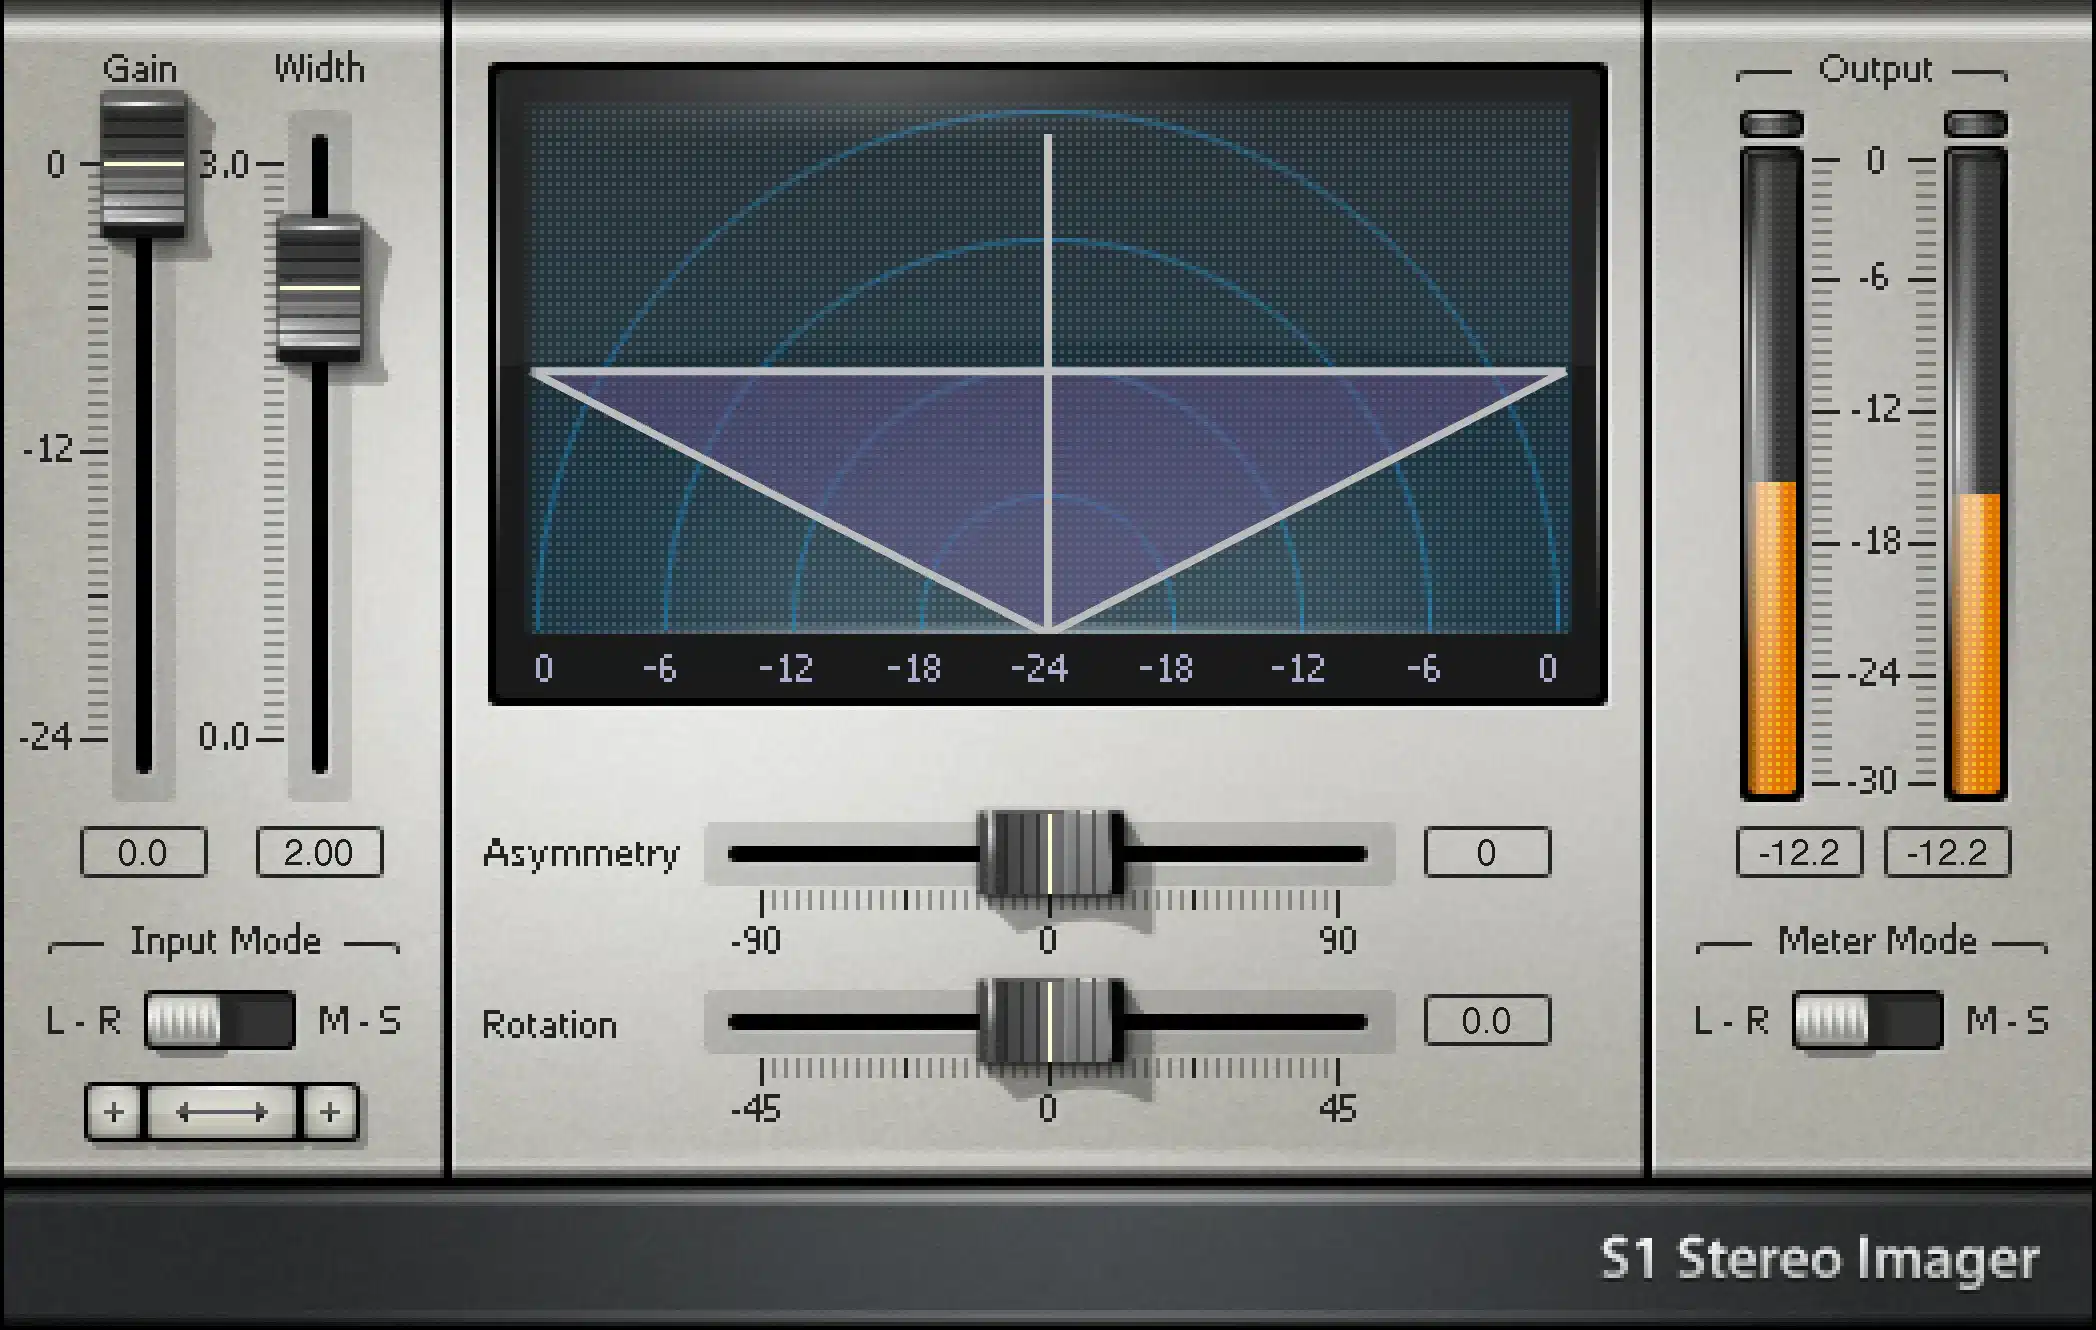
The flanger effect was subtle yet effective. It added a sense of width and space to the vocals, making them sound more expansive. It’s a subtle effect, but it makes a noticeable difference in the overall texture of the sound.
High-Frequency Enhancement
Finally, the Waves L1 plugin for high-frequency enhancement and limiting. This step was about adding that extra sparkle to the vocals and ensuring they sit well in the mix. It’s like the final touch that brings everything together.
Making It My Own
Throughout this process, I learned that it’s not just about replicating a sound; it’s about understanding the techniques and then making them your own. I experimented with different settings, tweaked the plugins, and even added my personal touch to some of the effects. It was a process of trial and error, but that’s where the learning and fun lie.
Conclusion
Mastering the Future vocal effect chain was an enlightening experience. It taught me the importance of attention to detail, the subtlety of sound engineering, and the art of blending different effects to create a unique sound. Whether you’re a fan of Future or just passionate about music production, understanding these techniques can elevate your sound engineering skills to a new level. Remember, it’s not just about the tools; it’s about how you use them to bring your creative vision to life.
Check out the video to see the settings and hear what it sounds like!
Also, if you’re looking for professional mixing or mastering services, visit mixandmastermysong.com. You’ll also find presets and courses tailored to enhance your music production journey. Stay tuned for more insights and discussions soon!



I would like to ask which neve 1073 because there are so many versions