10 Essential Tips for Perfecting Your Vocal Mixes
Are your vocal mixes not sounding as professional as you’d like? Don’t worry, I’ve got you covered! In this comprehensive guide, I’ll share 10 essential tips to help you perfect your vocal mixes and take your music production to the next level.
Achieving a pristine vocal mix is no easy task, but with the right techniques and know-how, you can enhance the clarity, presence, and overall impact of your vocals. Whether you’re a seasoned producer or just starting out, these tips will ensure that your vocal tracks shine through and captivate listeners.
From understanding EQ and compression to creating space with reverb and delay, we’ll delve into the fundamental tools and techniques you need to master in order to achieve a professional-sounding vocal mix. We’ll also explore advanced strategies, such as parallel processing and vocal automation, to add depth and character to your vocals.
Join us as we uncover the secrets behind great vocal mixes. Get ready to transform your recordings and make your vocals stand out in the mix like never before. Let’s dive in!
Understanding the importance of vocal mixing
Achieving a pristine vocal mix is no easy task, but with the right techniques and know-how, you can enhance the clarity, presence, and overall impact of your vocals. The vocals are often the most important element in a song, carrying the message and emotions to the listeners. A well-mixed vocal can make or break a track, so it’s crucial to invest time and effort into perfecting it.
To start off, it’s important to understand the role of vocal mixing. A great mix ensures that the vocals sit well in the overall mix, without overpowering or getting lost in the arrangement. It involves balancing the levels, panning, and applying various processing techniques to enhance the vocals while maintaining their natural characteristics. By mastering the art of vocal mixing, you’ll be able to create professional-sounding tracks that captivate and engage your audience.
Setting up your vocal recording environment
Before diving into the mixing process, it’s essential to have a well-equipped and acoustically treated recording environment. The quality of your vocal recordings will greatly impact the final mix. Start by choosing a quiet room with minimal background noise and good sound insulation. Eliminate any potential sources of noise, such as air conditioning units or fans, and consider using soundproofing materials or acoustic panels to minimize reflections and echo.
Investing in a high-quality microphone and preamp is also crucial for capturing clean and detailed vocals. As far as preamps go, I tend to like the Universal Audio ones. They can give you a ton of different flavors and also can add a compressor in the chain which can help tame peaks from distroting the recording. Choose a microphone that suits the characteristics of the vocalist and the genre of music you’re working on. I would suggest the website audio test kitchen for this. It allows you to “audition” over 300 microphones so you can hear which microphone might be best for your voice. Try to spend as much as you can on the microphone. They tend to be a lot like cars. The more you pay the better the ride.

Experiment with different microphone placements to find the sweet spot that captures the best sound. Additionally, using a pop filter and a reflection filter can help reduce plosive sounds and unwanted room reflections.
Preparing the vocals for mixing
Once you have recorded your vocals, it’s time to prepare them for the mixing stage. Start by organizing your vocal files and naming them appropriately for easy navigation. Remove any unwanted noises or breaths between phrases, ensuring a clean and polished vocal track.
Next, it’s important to comp your vocal takes. This involves selecting the best parts from multiple takes to create a cohesive and flawless performance. Listen carefully to each take, paying attention to pitch, timing, and overall performance. Use crossfades or editing tools to seamlessly blend the selected sections together.
Cleaning up the vocals by applying noise reduction and de-essing techniques is also essential. I use the Izotope RX suiteto do this. The Mouth de-click and de-plosive plugins work great for this. Make sure to use them as a processed effect, because putting them on the channel as an insert may be too CPU-intensive for your system. Noise reduction helps eliminate background noise, while de-using reduces harsh sibilance sounds. Be careful not to overdo these processes, as they can potentially affect the natural character of the vocals.
This can also be the time to Tune and correct any timing issues you have. Auto-tune ( or Slate’s MetaTune, which I tend to prefer) and Melodyne are the best plugins for this job. (Check out my article on Melodyne for step-by-step instructions on how to use it.) Auto-tune is great for a set-and-forget plugin. It will usually do a good job at correcting slight tuning imperfections but might start to sound strange on notes that are really out of tune. Melodyne is my goto when you really need to get into the details of making every note perfect.
Balancing the levels and panning of the vocals
Once your vocal tracks are cleaned up and ready, it’s time to balance their levels within the mix. Start by setting the overall level of the vocals so that they sit well with the other instruments. Use volume automation or fader adjustments to even out the levels and ensure that the vocals are consistently audible throughout the song. Putting the verse, chorus and bridge on separate tracks can be a good idea for this step, because the music tends to be at different levels for these sections.
Panning is another important aspect of vocal mixing. By placing the vocals in the stereo field, you can create a sense of space and dimension within the mix. Experiment with panning the lead vocals slightly off-center to create a more natural and immersive listening experience. Background vocals or harmonies can be panned wider to create separation and add depth to the mix.
Keep in mind that the panning decisions should complement the arrangement and enhance the overall balance. Use your ears and trust your judgment to find the perfect panning positions for your vocals.
Enhancing the vocals with EQ and compression
EQ and compression are powerful tools for shaping the sound of your vocals and ensuring they cut through the mix. EQ allows you to adjust the frequency balance, while compression helps control the dynamics and adds consistency to the vocal performance.
Start by using EQ to address any tonal issues and bring out the best qualities of the vocals. Identify any problem frequencies, such as harshness or muddiness, and use subtractive EQ to reduce them. Boost the frequencies that enhance the clarity and presence of the vocals, such as the high-mids.
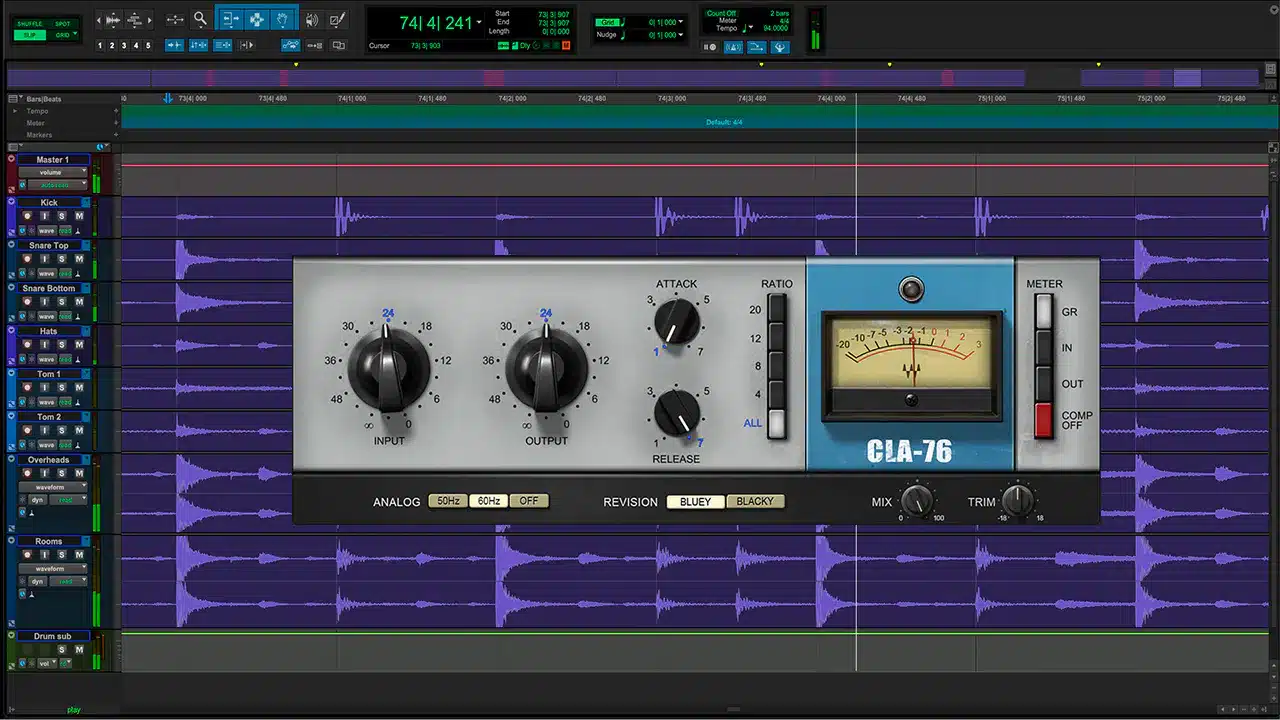
Compression helps control the dynamic range of the vocals, making them more consistent and easier to mix. Apply gentle compression to smooth out any volume inconsistencies and add sustain to the vocals. Adjust the attack and release times to ensure that the compression reacts seamlessly to the vocal performance. One of my favorite compressors to use for vocals is the 1176. Both the Waves and Universal Audio versions are great options for this.
Remember to use EQ and compression in moderation and make subtle adjustments to maintain the natural sound of the vocals.
Adding effects to the vocals
Effects play a crucial role in adding depth, space, and character to your vocals. Reverb, delay, and modulation effects can transform a dry vocal into a rich and captivating sound. One plugin that I use a lot that can not only make the vocal sound better but give you a quick way to add some effects is the CLA Vocals.
Reverb creates a sense of space and can make your vocals sound more natural or add a creative touch. Experiment with different reverb types and settings to find the right balance. Use shorter decay times for more intimate vocals and longer decay times for spacious or ethereal effects. Consider using pre-delay to separate the vocals from the reverb and maintain clarity.
Delay is another popular effect for vocals, adding rhythmic interest and creating a sense of depth. It can be used subtly to provide a sense of space or more prominently for creative rhythmic effects. Adjust the delay time, feedback, and EQ settings to achieve the desired effect.
Modulation effects like chorus or flanger can add movement and character to your vocals. Use them sparingly to avoid overwhelming the vocals, but enough to add a touch of uniqueness.
Dealing with common vocal mixing issues
Vocal mixing can come with its fair share of challenges. Here are some common issues you may encounter and tips for resolving them:
1. Muddiness: If your vocals sound muddy or lack clarity, use EQ to reduce the low-mid frequencies and boost the higher frequencies for more presence.
2. Sibilance: Harsh sibilant sounds can be reduced using a de-esser or by applying dynamic EQ to tame the offending frequencies.
3. Plosives: Use a pop filter during recording or apply corrective EQ to reduce plosive sounds caused by strong puffs of air.
4. Dynamic inconsistencies: Apply gentle compression to even out the vocal levels and make them more consistent throughout the performance.
By addressing these common issues, you’ll be able to achieve a more polished and professional vocal mix.
Utilizing automation for a dynamic vocal mix
Automation is a powerful technique that allows you to fine-tune the dynamics and expression of your vocals. It enables you to create a more dynamic and engaging mix by adjusting the volume, panning, and effects parameters over time.
Use volume automation to emphasize certain phrases or words, creating a sense of energy and emotion. Automate the panning to move the vocals around the stereo field, enhancing the spatial dimension. Experiment with automation on effects parameters to add movement and interest to the vocals.
Automation requires careful listening and attention to detail. Take your time to experiment and find the right balance between subtle changes and more pronounced effects.
Collaborating with a professional Mixing Engineer
Sometimes, despite your best efforts, achieving the perfect vocal mix can be challenging. In such cases, it can be beneficial to collaborate with a professional vocal mixer. An experienced mixer brings a fresh perspective and can elevate your vocal tracks to a whole new level.
A professional vocal mixer has the technical expertise and creative vision to enhance the strengths of your vocals while addressing any weaknesses. They can apply advanced processing techniques, provide valuable feedback, and make critical mix decisions that take your vocals to the next level.
Collaborating with a professional also allows you to focus on other aspects of your music production while ensuring that the vocal mix receives the attention it deserves.
Finalizing and exporting your vocal mix
Once you’re satisfied with your vocal mix, it’s time to finalize and export it for distribution or further processing. Before exporting, listen to the mix in different playback systems to ensure that it translates well across various listening environments.
Consider exporting in high-quality formats such as WAV or AIFF to preserve the integrity of your vocal mix. Ensure that the file names and metadata are correctly labeled for easy identification.
Congratulations! You’ve learned the essential tips for perfecting your vocal mixes. With practice and dedication, you’ll be able to create professional-sounding vocal mixes that captivate and engage your listeners. So go ahead, apply these techniques, and take your music production to new heights!
In conclusion, perfecting your vocal mixes requires a combination of technical know-how, attention to detail, and creative decision-making. By understanding the importance of vocal mixing, setting up your recording environment correctly, preparing the vocals, balancing the levels and panning, enhancing with EQ and compression, adding effects, dealing with common issues, utilizing automation, collaborating with professionals, and finalizing and exporting your mix, you’ll be well on your way to achieving professional-sounding vocal mixes. So, what are you waiting for? Start implementing these tips today, and let your vocals shine like never before!