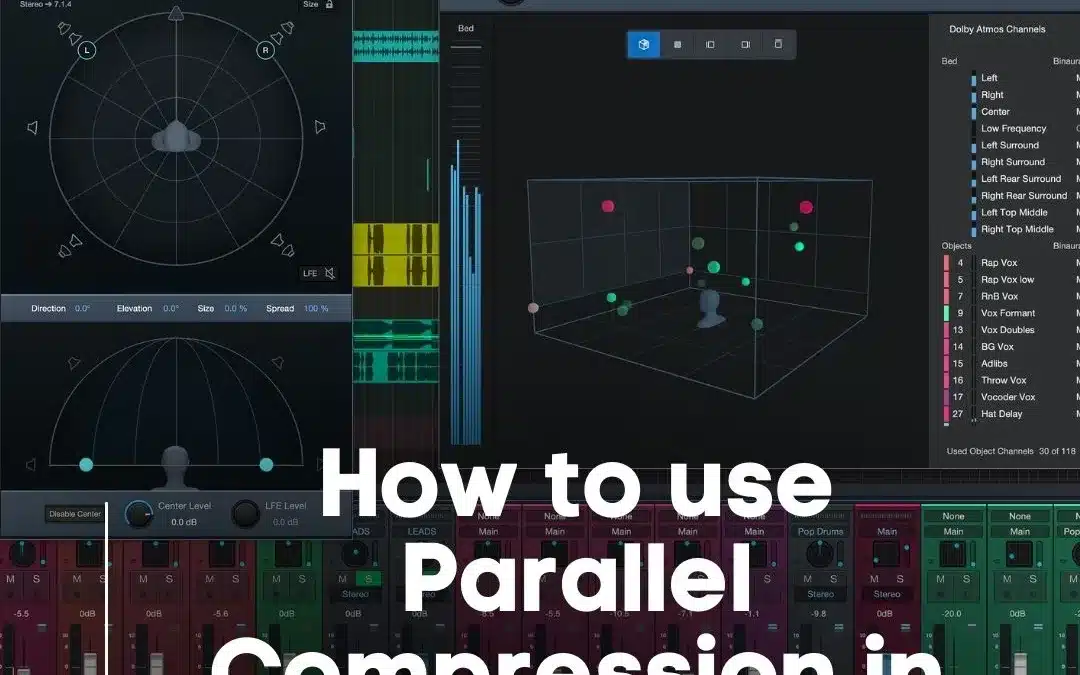
Mastering Parallel Compression in Studio One: A Professional’s Guide
Introduction
Hello, I’m Matty, a professional mixing and mastering engineer with years of experience in the music industry. Today, I want to share with you an essential technique that can transform your mixes: parallel compression in Studio One. This technique is a game-changer, especially when you’re looking to add punch and life to your tracks without compromising their dynamics. Whether you’re a budding engineer or a seasoned pro, understanding how to effectively use parallel compression in Studio One is crucial for achieving professional-sounding mixes.
Understanding Parallel Compression
What is Parallel Compression?
Parallel compression, often referred to as ‘New York compression,’ is a dynamic range compression technique used in audio mixing. Unlike standard compression, which applies directly to the main track, parallel compression involves blending a heavily compressed version of a track with the original. This method allows you to maintain the natural dynamics of the original track while adding power and consistency from the compressed signal.
The Role of Parallel Compression in Studio One
In Studio One, parallel compression is not just a tool; it’s an artistic choice. It brings out the subtleties in vocals, adds aggression to drums, and gives bass lines more presence. By using parallel compression in Studio One, you can achieve a more balanced mix, where every element stands out yet remains part of a cohesive whole.
Getting Started with Studio One
Overview of Studio One Interface
Studio One’s intuitive interface is what makes it a favorite among professionals like myself. To start with parallel compression, familiarize yourself with the main workspace, mixer, and effects section. Understanding where to find and how to apply Studio One’s built-in compressors is key.
Preparing Your Track for Compression
Before diving into parallel compression, ensure your track is well-prepared. This means having a clean, well-balanced mix to start with. Select the track you want to apply parallel compression to – it could be vocals, drums, or any other element that needs to stand out in your mix.
Step-by-Step Guide to Parallel Compression in Studio One
Creating a Duplicate Track
- Duplicate Your Track: In Studio One, right-click on the track you want to compress and select ‘Duplicate Track’. This creates an exact copy of your track.
- Setting Up the Duplicate for Compression: Mute the effects on the duplicated track. We want the compression to be the only effect applied here.
Applying Compression
- Choosing the Right Compressor Plugin: Studio One offers a variety of compressor plugins. I often use the Stock Compressor for its versatility.
- Adjusting Compression Settings: Set a high ratio (around 8:1 or higher), a fast attack, and a medium release. Adjust the threshold until you hear a significantly compressed sound.
Fine-Tuning the Compressed Track
- Balancing the Compressed Track: Start with the fader down on your compressed track and slowly bring it up until you find the sweet spot where the track sits well in the mix.
- Listening for Consistency: Ensure that the added compression is consistent and adds the desired energy without overpowering the original track.
Advanced Techniques and Tips
Using Side-Chain Compression in Parallel
Side-chain compression in parallel can add rhythmic pulsing or breathing to your track. It’s especially effective on bass lines or pads in electronic music. To set this up in Studio One, route a kick drum or any rhythmic element to the side-chain input of your compressor.
Creative Uses of Parallel Compression
Parallel compression isn’t just for making things louder; it’s a creative tool. Try using it on:
- Drums: To add punch and body.
- Vocals: To bring them to the forefront of your mix.
- Bass: To add weight and consistency.
Common Mistakes and How to Avoid Them
Overcompression and Its Impact
Overcompression can suck the life out of your track. Always compare the compressed track with and without parallel compression. If the track loses its dynamic range or sounds squashed, reduce the compression.
Ensuring Phase Coherence
Phase issues can arise when blending the original and compressed signals. Always check for phase coherence by flipping the phase on the compressed track. If the sound becomes thin or hollow, you might have phase issues.
Integrating Parallel Compression in Your Mixing Workflow
When to Use Parallel Compression
Parallel compression is not a one-size-fits-all solution. Use it when you need to add energy or presence to a track without altering its dynamic range too much. It’s about finding the right balance for each mix.
Building Your Unique Sound
Parallel compression is a tool to shape your sound. Experiment with different settings and compressors. Remember, what works for one mix may not work for another. Develop your ear and trust your instincts.
Conclusion
Parallel compression in Studio One is a powerful technique that, when used correctly, can elevate your mixes to a professional standard. Remember, the key is subtlety and balance. Experiment, trust your ears, and don’t be afraid to break the rules sometimes. Happy mixing!


