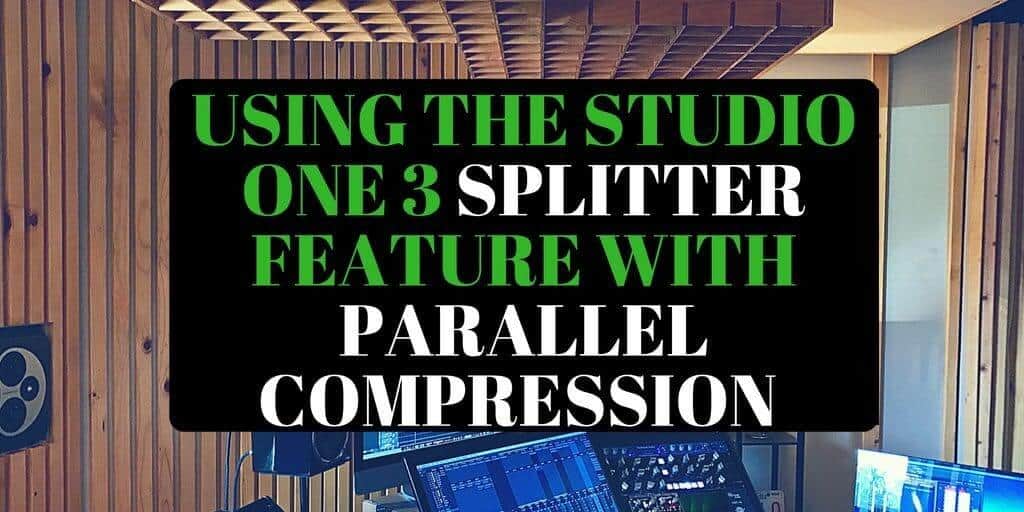
Unlocking Punch and Precision with the Studio One Splitter
In the world of modern mixing, workflow and tone go hand in hand. And if you’re a Studio One user who hasn’t tapped into the full potential of the Studio One Splitter tool, you’re missing out on one of the DAW’s most underrated features.
I’ve been professionally mixing and mastering records for over 15 years—from indie releases to major label artists—and like many engineers, I’m always looking for ways to streamline my process without compromising sound quality. The Splitter in Studio One has become one of those “why didn’t I use this earlier?” tools. Whether you’re working on punchy kicks, tight snares, or even full mixes, the Splitter offers a fast, clean way to apply parallel processing without cluttering your session or duplicating tracks.
What Is the Studio One Splitter?
The Studio One Splitter is a routing tool built right into the channel editor of Studio One. At its core, it lets you split a signal path in multiple ways:
-
Normal (same signal split evenly across two or more paths)
-
Channel Split (splits left and right channels)
-
Frequency Split (splits audio based on frequency ranges)
Each split path can host its own plugin chain, meaning you can apply different processing—like compression, EQ, or saturation—to specific parts of the signal. No track duplication, no send/return juggling. Just clean, modular control.
Parallel Compression Without the Mess
Let’s take a real-world example from a recent mix I worked on for an artist named 10 Buick. The song needed a kick that could punch through the mix without overpowering it. Traditionally, I’d duplicate the kick track, insert a compressor and EQ on the copy, and blend it with the dry version. But with the Splitter, the entire process becomes far more elegant.
Here’s how I set it up:
-
EQ First: I start with a bit of tone shaping—usually a low-shelf bump, a dip around 800Hz to clean up the boxiness, and a slight top-end boost to bring out the snap.
-
Insert the Splitter: After EQ, I click the Splitter icon in the Studio One channel editor. I select Normal split to divide the signal into two identical streams.
-
Add Compression and Character: On the second path, I’ll drop in a dbx 160 for that classic punchy grab. I typically go for around 10 dB of gain reduction. Then I follow it up with a Pultec-style EQ, using the old trick of boosting and attenuating the low end at the same time. (This little move—shoutout to Bob Power who used it a lot on Tribe Called Quest records—adds weight without mud.)
-
Blend to Taste: Now I can easily balance the compressed signal with the dry one right inside the channel, without creating extra tracks. Sometimes I’ll even automate the blend for dynamic control in the chorus or bridge.
Advanced Moves with Frequency Split
While the Normal split gets a lot of use in my mixes, the Frequency Split mode is where the Splitter really shines for more surgical tasks.
Let’s say I want to compress only the high frequencies of a kick to bring out attack without flattening the low end. With Frequency Split:
-
I set the crossover point (the default 240 Hz is a good place to start).
-
The low and high bands now live on separate paths.
-
I apply compression only to the high band, giving the kick more presence and snap without interfering with the sub energy.
It’s a trick I also use on basses when I want to keep the low end steady but add some grit or saturation to the mids.
Why This Is Better Than Duplicating Tracks
Session management is a big deal—especially if you’re juggling dozens of tracks, automation, and routing. The Studio One Splitter keeps your session tidy:
-
No need to duplicate audio.
-
Processing stays inside the original track.
-
You can mute or solo individual split paths instantly.
-
It plays nicely with automation and macros.
And if you’re deep into creative sound design? You can even split your splits, setting up layered FX chains that go way beyond compression. Think multi-band distortion, dynamic panning, spectral widening—you name it.
Final Thoughts
The Studio One Splitter isn’t just a cool utility—it’s a workflow enhancer. Whether you’re after subtle reinforcement or bold creative sound design, the Splitter opens the door to cleaner sessions, faster processing, and better results. Once I started using it for parallel compression, it became a staple in my drum and mix bus chains.
If you’re mixing in Studio One and haven’t explored this tool yet, I highly recommend giving it a shot. You’ll save time, simplify your mix sessions, and unlock new creative territory.
Have questions about using the Studio One Splitter or want to share how you’re using it in your own mixes? Drop a comment below or hit me up directly at mixandmastermysong.com.
Watch the Full Tutorial
🎥 Check out the full video here:
In the video, I walk you through exactly how I use the Splitter on a kick drum, plus give a quick nod to Bob Power and that classic low-end trick with the Pultec.