If you’ve ever felt like your kick sounds good solo but disappears once everything else comes in — you’re not alone. Early in my career, especially working on EDM and pop sessions, I ran into that problem all the time. I’d get a killer kick sample, tweak the EQ, maybe compress it a bit, and in solo, it would knock. But in the full mix? Gone. That’s when I started leaning on parallel compression.
This isn’t going to be a deep-dive into the math behind RMS or why 10:1 sounds different than 4:1 — there’s plenty of that online. Instead, I want to show you how I personally use parallel compression to make kicks hit harder, stay consistent across the track, and hold their own in a dense mix — whether I’m working on an 808-heavy trap beat, a polished pop record, or a four-on-the-floor EDM banger.
In this article, I’ll break down the exact steps I use, the plugins I trust, and the mistakes I see new producers make when trying to apply this technique. If you’ve ever wanted your kicks to punch without killing the dynamics, or to add weight without sounding bloated — this one’s for you.
Why I Use Parallel Compression on Kicks — and Why You Might Want To
At its core, parallel compression is just blending a dry kick with a heavily squashed version of itself. Sounds simple, and technically, it is. But in practice, it can completely change the feel of your drums — especially your kick.
I don’t use this on every mix, but when I do, I’m usually chasing one of three things:
-
More weight without losing punch
-
More consistency from hit to hit
-
Or just more attitude
The trick is knowing when and how to apply it — and in my mixes, that often depends on the genre I’m working in.
EDM: Making Kicks That Hit Like a Jackhammer
In EDM, the kick is the foundation. Whether I’m working on house, techno, or festival-style tracks, the kick needs to slam on big sound systems and hold its own against massive bass drops and walls of synths. This is where parallel compression really earns its keep.
Here’s how I usually do it:
-
I’ll take the dry kick — usually a layered sample with a clean transient and a bit of sub — and send it to an aux track.
-
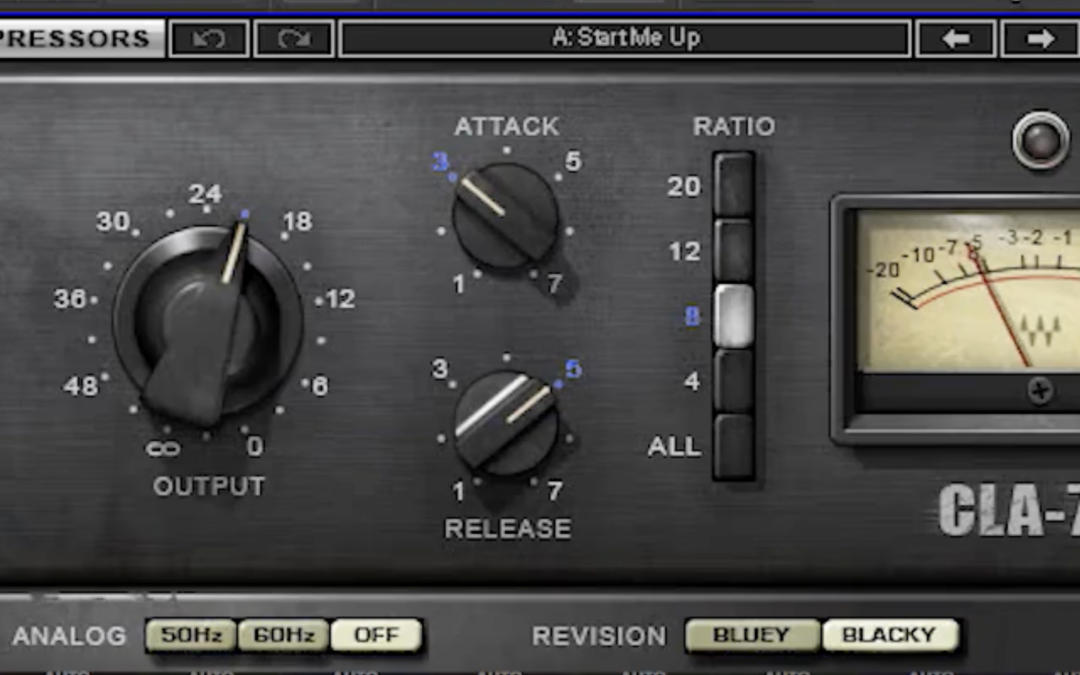
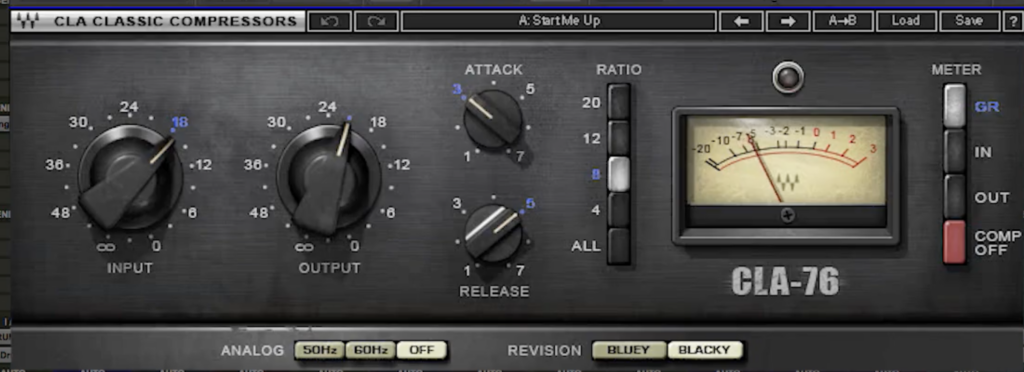
On that aux, I’ll absolutely crush it. Fast attack, fast release, high ratio, and drive the input hard.
-
Then I blend that compressed signal back in just enough to feel it. The trick is not to hear the compression, but to feel that extra thump and tail it adds.
It’s subtle, but suddenly your kick feels glued to the track. It doesn’t just knock — it stays knocking, no matter what else is going on in the mix.
Pop: Clean, Punchy, and Radio-Ready
Pop kicks are a little different. They need to feel tight, consistent, and polished — not overdone. In this case, I’ll still use parallel compression, but I’m way more conservative with the settings.
I might:
-
Set a slower attack (20–30ms) to keep the transient intact
-
Use a lower ratio (maybe 4:1 or 6:1)
-
And blend the compressed signal back in really gently
Sometimes I’ll even throw an EQ after the compressor on the aux and roll off the sub below 50Hz. I’m just trying to add that bit of mid-bass energy — not turn it into a subwoofer warzone.
This approach helps the kick sit just right under a vocal and bass synth. It doesn’t call attention to itself, but it doesn’t get buried either. It just works.
Hip-Hop: Adding Knock Without Killing the Groove
In hip-hop, the goal is almost always “make the kick slap.” Whether it’s a punchy MPC-style kick or a long-decay 808, the challenge is usually about impact and consistency.
For boom-bap or old-school samples, I might use something like an 1176 emulation in “all-buttons-in” mode on the parallel channel. Slam it hard, fast attack and release, and blend in until the kick sounds like it gained 10 pounds.
For modern 808-based stuff, I’m more careful. Too much parallel compression can ruin the shape of an 808. But a little can help reinforce the top-end click or the punch at the front without muddying up the sub.
My general rule here: use your ears, not just your eyes. Sometimes you only need 5–10% of the compressed signal blended in to feel the difference.
How I Set Up Parallel Compression on a Kick Drum
You don’t need a fancy plugin bundle or a degree in signal flow to do this — just your DAW and a compressor. Here’s how I set it up 95% of the time:
1. Duplicate the Kick or Use a Send
There are two main ways to do this:
-
The send/return method — I send the kick to an aux track (a bus) and do all my compression there.
-
The duplicate track method — I copy the kick to a new track and apply compression directly.
If you’re just starting out, I recommend the send method. It keeps everything cleaner and lets you adjust the blend more easily. Make sure to set the send to pre-fader if your DAW gives you the option — that way, your compressed signal stays consistent even if you tweak the main kick’s volume later.
2. Slam It
This is where a lot of beginners go too soft. Remember, this isn’t about subtle compression. This is where you go in.
On that aux channel:
-
Set a high ratio — I’m talking 8:1, 10:1, or even limiting
-
Set a low threshold — you want to grab pretty much the whole signal
-
Use a fast attack if you want to kill the transient and add sustain (great for EDM and hip-hop)
-
Or a slower attack (20-30ms) if you want to keep the punch and just add weight (great for pop)
Play around with the release — fast release can give you a nice bounce, slower release adds more sustain. For kicks, I tend to keep it in the 50–150ms range.
Then, crank the makeup gain so that the compressed signal is loud and proud. When you solo it, it should sound over the top — almost too much. That’s the point.
3. Blend to Taste
Now comes the magic. Unmute your original kick and start bringing up the fader on the compressed signal.
Do it slowly. You’re listening for that moment where the kick starts to feel more solid, more glued into the mix. It shouldn’t sound drastically different — just better.
A good rule of thumb: bring the fader up until you clearly hear the effect, then back it off just a bit.
You can also use a plugin with a mix knob if you want to do it all in one place — plenty of modern compressors have that built in. It’s not exactly the same as doing it on a bus, but it’s close enough and easier when you’re getting started.
Common Mistakes with Parallel Compression (And How to Avoid Them)
Even though parallel compression is a simple concept, there are a few mistakes I see people make all the time. Here’s what to watch out for — and how to make sure you’re using the technique effectively.
1. Overdoing the Compression
I get it. Compression is powerful, and it’s tempting to really crush the sound. But too much compression on your parallel track can make your kick sound lifeless and flat, even if it’s louder. The key to parallel compression is balance.
Fix: Start with subtle settings. Think of it like seasoning — you don’t need to drown the kick in a ton of compression. If you’re new to this, keep the ratio around 4:1 to 6:1 and set a mild threshold. Don’t push it too far until you’ve had a chance to hear how it affects your mix as a whole.
2. Not Matching Levels Between Dry and Compressed Signals
One of the most common mistakes is not matching the levels between the dry kick and the compressed kick. If your compressed kick is way too loud, you’re going to end up with a punchy kick that has no room to breathe.
Fix: Always make sure your dry kick and your parallel compression signal are relatively balanced before you start adjusting the mix level. Use a level meter or visually match the fader levels between the two channels. This ensures that you’re blending, not overpowering.
3. Using Parallel Compression on Every Kick
Not every song calls for parallel compression, especially if you’re working on something with a lot of dynamic range, like acoustic pop or jazz. Overusing compression can lead to a mix that sounds squashed or too dense, especially in genres where subtlety is key.
Fix: Don’t feel like you have to use parallel compression on every kick drum. If your kick already has enough punch or clarity, or if you’re working in a genre that thrives on dynamics, skip the parallel compression. Trust your ears and be selective about where you use it.
4. Not Paying Attention to Phase Issues
One of the hidden dangers of parallel compression is phase cancellation. If the dry kick and the compressed kick are out of phase with each other, you’ll lose some of the low end and punch — which is exactly what you’re trying to avoid.
Fix: After setting up your parallel compression, take a listen in mono. If the kick sounds weaker when you collapse to mono, you might have some phase issues. Try flipping the phase on the parallel track (most DAWs have a phase-invert button) and listen for improvements.
5. Ignoring the Kick’s Role in the Mix
Parallel compression is a great tool, but it’s not a cure-all. You still need to make sure your kick fits within the overall mix. If you’re pushing the kick too hard with parallel compression but not addressing its EQ, it’s not going to sit well with the rest of your elements.
Fix: Make sure your kick is properly EQ’d before and after applying parallel compression. If you’re working with a layered kick, take a moment to balance the attack and sub layers. A kick with too much mid-range energy will clash with other instruments, and one that’s too boomy will drown out vocals or basslines.
Wrapping It Up: Parallel Compression is a Secret Weapon, Not a Shortcut
At the end of the day, parallel compression is just one of many tools in your arsenal. If used right, it’ll give your kicks that extra punch, weight, and consistency that a solo track can’t always achieve. But don’t fall into the trap of over-relying on it — it’s about finding the right balance and using it when it makes sense for the track.
I’ve used this technique on countless songs in EDM, pop, and hip-hop, and I can tell you firsthand — it works. Just be sure to keep it subtle, and use it strategically. With a little practice, parallel compression can be the game-changer that takes your drum sounds to the next level.
Want to hear parallel compression in action? Reach out if you’re looking to get your song professionally mixed and mastered. Let’s turn your tracks into something that really hits!

