Mixing and Mastering Blog
Tutorials, tips, and industry insights from a professional mixing and mastering engineer.
Your Song Sounds Quiet on Spotify — Try This One Mastering Trick

You mastered your song, it sounds great in your DAW, you upload it to Spotify — and then it sounds noticeably quieter than everything around it. It’s one of the most frustrating experiences in modern music production, and the fix…
Hip-Hop Mixing and Mastering Service
Hip hop is the most unforgiving genre to mix. There is nowhere to hide. The low end either hits or it doesn’t. The vocal either cuts through or it disappears into the track. And real hip hop listeners — people…
The Exact Reverb and Delay Chain I Use on 90% of My Mixes
Every week I get sessions from artists who’ve slapped reverb plugins on every channel, sometimes stacked with sends on top of that. The result? A cloudy, washy mess that kills the energy of an otherwise great song. I’ve mixed records…
I Tried an AI Mixing and Mastering Service (Honest Review from a Professional Engineer)

The AI Mixing Revolution That Already Happened If you’ve been getting ads for AI mixing and mastering services, you’re not alone. These platforms are everywhere, climbing to the top of Google search results and promising studio-quality mixes in minutes. But…
Is Vovious Better Than Melodyne? Honest Mixing Engineer Review
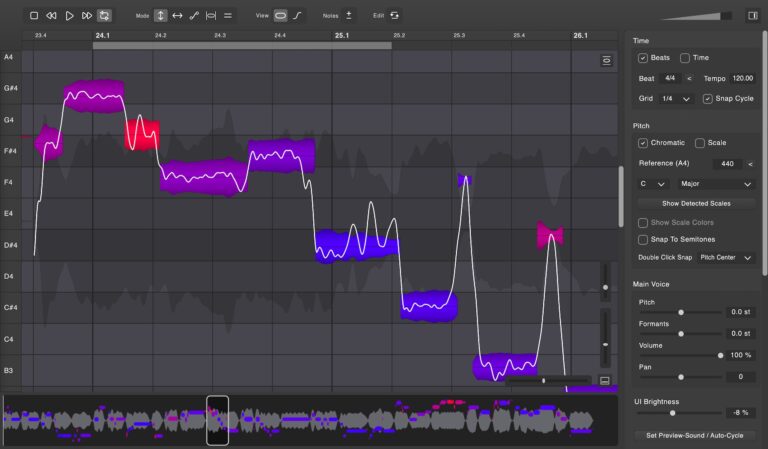
Let me be clear upfront: this isn’t a “Melodyne sucks” article. Melodyne is legendary. It’s been the industry standard for vocal pitch correction for years, and I’ve used it on countless records. But over the last month, I’ve found myself…
Fender Studio Pro Review: My Honest Take on the PreSonus Rebrand
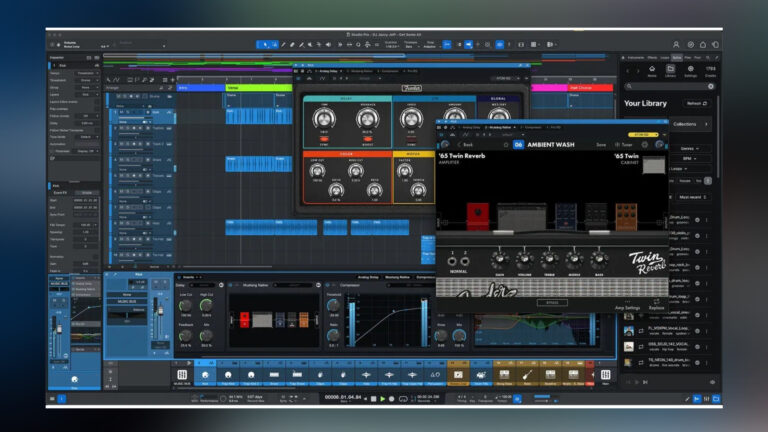
PreSonus Studio One is dead. Long live Fender Studio Pro. If that sentence feels weird to read, imagine how it feels for those of us who’ve been working in Studio One for years. The DAW we know and trust just…
Album Mastering Explained: How to Master an Album for Streaming, Vinyl, and Digital Release
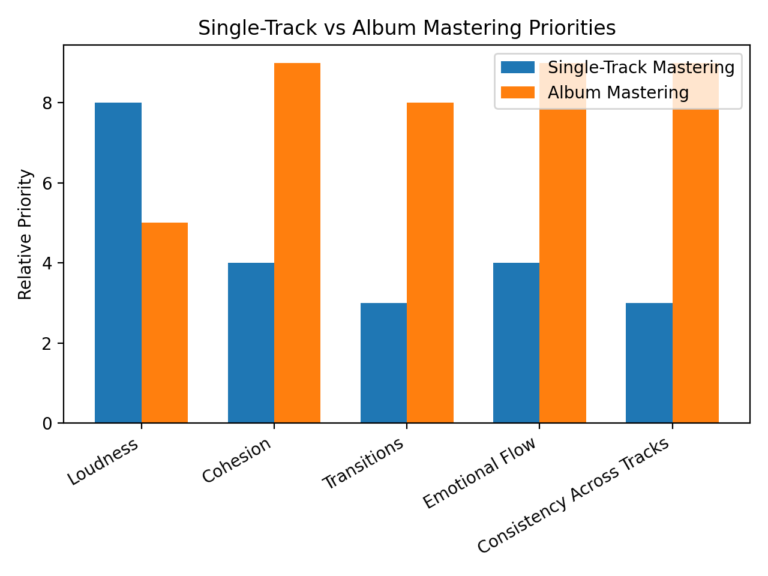
Mastering a single song is one thing. Mastering an entire album? That’s a completely different beast. Here’s the thing: an album master isn’t just about making each track loud, polished, and clean. It’s about cohesion. Flow. Making ten or twelve separate mixes…
Affordable vs. Cheap: What Indie Artists Need to Know About Mixing Services
That $25 mixing offer on Fiverr looks tempting, doesn’t it? You’ve spent weeks writing your song, countless hours in your home studio getting the perfect take, and now you’re staring at your budget wondering how to make it all come…
10 Best Plugin Alliance Plugins I Use on Every Mix (Worth the Subscription)

If you’ve ever downloaded Plugin Alliance’s full bundle, you know the feeling: hundreds of plugins staring back at you, and somehow you end up using the same three or four over and over again. The rest? Digital dust collectors. But…
Online Mixing vs Studio: Which Is Better for Your Music?

When it comes to getting your music professionally mixed, you’re faced with a crucial decision: should you book time at a local studio or work with an online mixing engineer? The online mixing vs studio debate has become increasingly relevant…