Introduction
What is Stereo Imaging?
Stereo imaging is a crucial aspect of music production that deals with the spatial placement of sounds within a stereo field. In simpler terms, it refers to the way audio elements are positioned and perceived in the left, right, and center parts of a stereo mix. By manipulating stereo imaging, producers can create a sense of width, depth, and space, making a mix sound more immersive and three-dimensional.
For instance, when you listen to a song and hear the guitar predominantly in the left ear and the piano in the right, that’s an example of stereo imaging at work. It transforms a flat, monophonic sound into a rich, dynamic experience that can evoke a stronger emotional response from the listener.
Importance in Music Production
Stereo imaging is not just a technical detail but a powerful tool that significantly enhances the listening experience. A well-crafted stereo image can make a song feel more engaging and professional. It allows producers to highlight specific instruments, create a sense of space and depth, and guide the listener’s attention to different elements within a track.
Historically, the development of stereo sound revolutionized music production and playback. In the early days of recording, music was predominantly monophonic, meaning it came from a single channel and sounded the same through all speakers. The introduction of stereo in the late 1950s and early 1960s allowed for a more natural and realistic listening experience, mimicking how we hear sounds in the real world.
Today, stereo imaging is a fundamental aspect of modern music production. From the subtle placement of background vocals to the dramatic sweeping effects in electronic music, stereo imaging techniques are employed across all genres to create compelling and immersive audio experiences. Understanding and mastering these techniques can elevate a mix from ordinary to extraordinary, making it a vital skill for any music producer or audio engineer.
The Science Behind Stereo Imaging
How Human Hearing Works
To understand stereo imaging, it’s essential to grasp the basics of how human hearing works. Our ears and brain work together to interpret sounds from different directions, helping us locate where they come from. This process, known as spatial hearing, relies on binaural cues—differences in time, intensity, and frequency between the sounds reaching our left and right ears.
- Interaural Time Difference (ITD): This is the slight delay between when a sound reaches one ear compared to the other. Our brain uses this difference to determine the direction of the sound source.
- Interaural Level Difference (ILD): This refers to the difference in sound pressure level reaching each ear. Sounds coming from one side of our head will be louder in the nearer ear.
- Spectral Cues: The shape of our ears and the way sound waves interact with them also provide information about the vertical placement of sounds.
Principles of Stereo Sound
Stereo sound leverages these natural hearing mechanisms to create a sense of space and dimension in audio recordings. By carefully manipulating the stereo field, producers can craft immersive and dynamic soundscapes.
- Panning: Panning is the process of distributing sound signals to the left and right channels of a stereo mix. By adjusting the pan control, producers can place sounds anywhere between the far left and far right of the stereo field. This technique helps create width and allows different elements to occupy distinct spaces in the mix.
- Phase Differences: Phase differences occur when identical sounds reach the left and right ears at slightly different times. These differences can enhance the sense of width and spatial placement in a mix. However, improper phase alignment can cause issues such as phase cancellation, which can weaken the sound.
- Amplitude Differences: Varying the amplitude, or volume, of sounds between the left and right channels also contributes to stereo imaging. Sounds that are louder in one ear are perceived as being closer to that side. This technique is often used to create a balanced and cohesive mix, ensuring that no single element dominates the stereo field.
Components of Stereo Imaging
Width
Width in stereo imaging refers to the horizontal spread of sound across the stereo field, from the far left to the far right. Achieving a sense of width is crucial for creating a spacious and immersive mix. Techniques to enhance width include:
- Panning: Distributing different instruments or sounds across the left and right channels.
- Stereo Effects: Using plugins like stereo wideners, chorus, or reverb to broaden the stereo image.
- Double Tracking: Recording the same part multiple times and panning the takes to different sides.
Width allows for a clearer mix by giving each element its own space, reducing clutter and enhancing clarity.
Depth
Depth in stereo imaging creates the illusion of front-to-back space in a mix. This adds a three-dimensional quality, making some elements appear closer to the listener and others further away. Key techniques to achieve depth include:
- Reverb: Adding reverb to place sounds in a perceived space, with more reverb creating a sense of distance.
- Volume and EQ: Lowering the volume and cutting high frequencies to make sounds seem further away.
- Delay: Using delay effects to add a sense of space and separation between elements.
Creating depth helps to build a more realistic and engaging soundstage, enhancing the overall listening experience.
Height
Height in stereo imaging refers to the perceived vertical placement of sounds within a mix. Although less commonly discussed than width and depth, height adds another layer of realism to the sound. Techniques to achieve height include:
- Frequency Placement: Higher frequencies are often perceived as coming from above, while lower frequencies seem to come from below.
- Psychoacoustic Effects: Utilizing certain effects and EQ settings to manipulate the listener’s perception of height.
- Reverb and Delay: Different reverb settings and delays can contribute to the perception of height by placing sounds in varying vertical positions within the mix.
By understanding and applying these components, producers can create mixes that are not only wide and deep but also exhibit a sense of height, resulting in a fully immersive and three-dimensional listening experience.
Tools and Techniques for Stereo Imaging
Pan Knobs and Faders
Panning is one of the most fundamental tools for stereo imaging. By adjusting the pan knobs and faders on a mixing console or digital audio workstation (DAW), producers can place sounds anywhere in the stereo field from left to right.
- Basic Panning Techniques: Simple left-right placement to create space and clarity.
- Creative Panning: Automated panning to create movement and dynamic interest within a mix.
Stereo Microphone Techniques
Using stereo microphone techniques during recording can capture a natural sense of space and dimension. Some popular methods include:
- XY Technique: Placing two microphones at a 90-degree angle to each other, capturing a realistic stereo image with good mono compatibility.
- AB Technique: Using two microphones spaced apart to create a wide stereo image, though it can be prone to phase issues.
- ORTF Technique: Combining the principles of XY and AB by placing two microphones 17 cm apart at a 110-degree angle, offering a balance between width and phase accuracy.
- Mid-Side (M-S) Technique: Using one cardioid microphone and one bidirectional microphone to capture a versatile stereo image that can be adjusted during mixing.
Plugins and Processors
Several plugins and processors are specifically designed to enhance stereo imaging. These tools can manipulate the stereo field in various ways to achieve a desired effect.
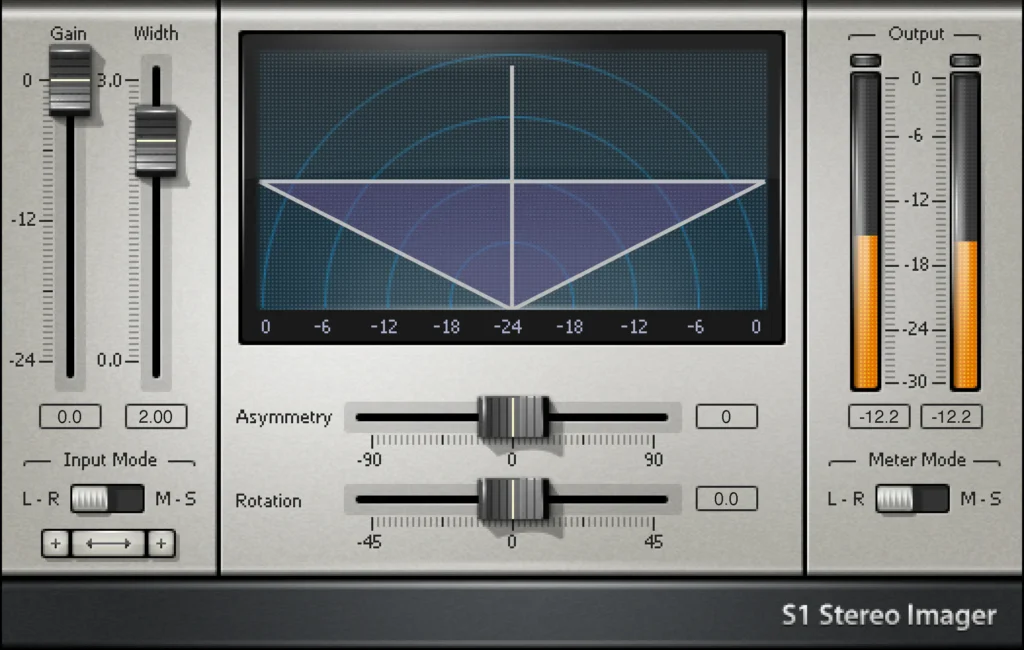
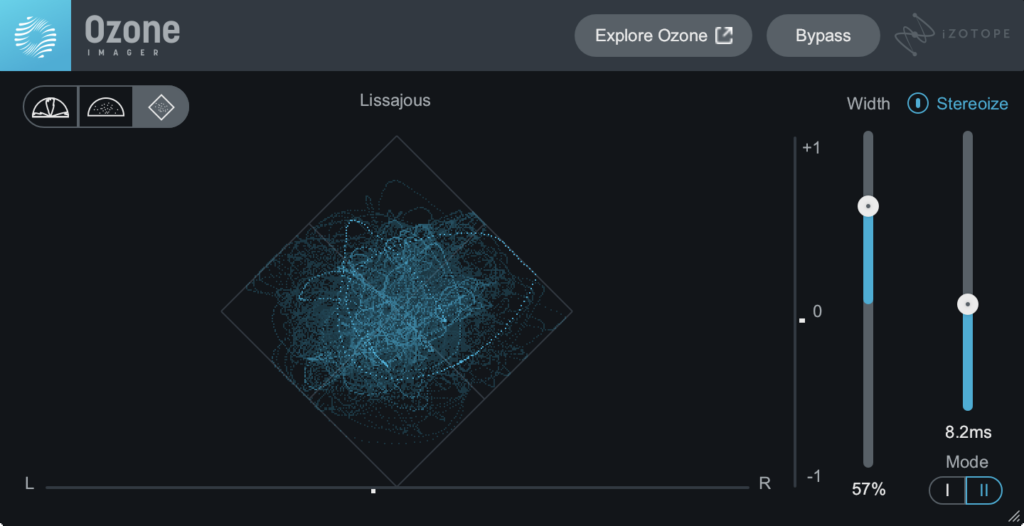
- Stereo Widening Plugins: Plugins like iZotope’s Ozone Imager or Waves S1 Stereo Imager can widen the stereo field, making a mix sound more expansive.
- EQ Techniques: Using equalization to carve out space for different elements, enhancing their placement within the stereo field.
- Reverb: Applying reverb to add depth and space, simulating different acoustic environments.
- Delay and Echo: Using delay and echo effects to create a sense of depth and movement within the stereo field.
- Chorus: Adding chorus effects to thicken sounds and spread them across the stereo image.
My Favorite Stereo Imaging Plugins
- Waves S1 Stereo Imager – A classic, really easy to use, and straightforward.
- Ozone 11 Imager – I use this a lot in mastering or for winding specific frequencies.
Practical Applications
Mixing Instruments
Properly placing instruments within the stereo field is essential for a balanced and clear mix. Here are some techniques for mixing different types of instruments:
- Drums:
- Kick Drum and Snare: Typically centered to provide a solid foundation.
- Hi-Hats and Cymbals: Panned slightly to the left or right to create width.
- Toms: Spread across the stereo field to match the drummer’s perspective or audience perspective.
- Bass:
- Generally kept centered to maintain a strong low-end foundation.
- Guitars:
- Rhythm Guitars: Often panned left and right to create width and balance.
- Lead Guitars: Panned slightly off-center to stand out without clashing with vocals.
- Keyboards and Synths:
- Panned to provide space and texture, with different parts occupying various positions in the stereo field.
- Vocals:
- Lead Vocals: Centered to keep them prominent.
- Backing Vocals: Panned left and right to add depth and support to the lead vocals.
Enhancing Vocals
Vocals are a focal point in many mixes, and effective stereo imaging can enhance their presence and clarity.
- Double Tracking: Recording multiple takes of the same vocal part and panning them left and right for a fuller sound.
- Stereo Reverb and Delay: Adding reverb and delay to create space around the vocals without muddying the mix.
- Chorus and Doubling Effects: Using these effects to widen the vocal and make it stand out more in the mix.
Creating Space and Depth
Creating a sense of space and depth in a mix makes it more engaging and realistic.
- Reverb: Using different types and settings of reverb to simulate various acoustic environments and create a sense of distance.
- Delay: Applying delay to certain elements to add depth and movement.
- Layering: Stacking multiple layers of sounds with different panning, volume, and effects settings to build a rich, three-dimensional soundscape.
Common Pitfalls and How to Avoid Them
Phase Issues
Phase issues can occur when identical or similar signals are played through both channels but are slightly out of sync. This can cause phase cancellation, where certain frequencies are reduced or eliminated, resulting in a thin or hollow sound.
- Identifying Phase Problems: Use a phase correlation meter or listen in mono to detect phase issues.
- Correcting Phase Problems:
- Time Alignment: Ensure that multi-mic recordings or layered tracks are time-aligned.
- Phase Inversion: Use phase inversion buttons on your DAW or hardware to correct phase issues.
- Mid-Side Processing: Use mid-side processing to address phase problems in the stereo field.
Over-Widening
Over-widening can make a mix sound unnatural and can lead to issues when the mix is played on mono systems, such as smartphone speakers or club sound systems.
- Balanced Panning: Avoid panning too many elements hard left or right. Aim for a balanced stereo image.
- Moderation with Stereo Wideners: Use stereo widening plugins sparingly. Too much widening can lead to a loss of focus and coherence in the mix.
- Mono Compatibility: Regularly check your mix in mono to ensure it still sounds good and no important elements are lost.
Mono Compatibility
Ensuring mono compatibility is crucial because not all playback systems are stereo. Poor mono compatibility can result in a weak or imbalanced mix when played back in mono.
- Check in Mono: Regularly switch your mix to mono to identify any issues.
- Avoid Extreme Panning: Extreme panning can cause important elements to disappear in mono. Keep crucial elements like vocals, bass, and kick drum centered.
- Use Mid-Side Processing: Mid-side processing can help control the stereo image and improve mono compatibility by allowing you to adjust the mid (center) and side (stereo) components independently.
Conclusion
Summary of Key Points
Stereo imaging is a fundamental aspect of music production that significantly enhances the listening experience by creating a sense of space and dimension. Understanding the science behind stereo imaging, including how human hearing works and the principles of stereo sound, is crucial for mastering this technique. Key components such as width, depth, and height contribute to a well-crafted stereo image, making mixes sound more immersive and professional.
If you are interested in my audio mixing or audio mastering services please feel free to reach out with any questions.