It is so easy to record vocals at home these days. All you really need is a mic, a computer and your ready to go. The only problem is you don’t have a engineer that can set the mic and levels up properly. Many projects that are sent to me are recorded poorly. The most common problems are distortion, background noise, ( I often hear birds in client’s recordings), bad mic placement, and strong p’s and ess’s. Many people believe you can just fix it in the mix. However you can’t have a good mix without a good recording. Good news is it’s not hard to get good recordings at home. Just follow these tips and you will have better quality recordings and therefore better sounding mixes in no time.
Acoustics- First and for most you want the room to be as “dead” as possible. Hardwood floors and windows are not your friend when recording vocals. If you do have hardwood floors get a rug and cover as much of the room as you can. Mic shields are helpful for blocking the sound bouncing off the wall in front of the singer, but you also need to treat the wall behind the singer. Try and cover the wall behind the singer with acoustic treatment if possible, but even a thick blanket will help if treatment is not a option.
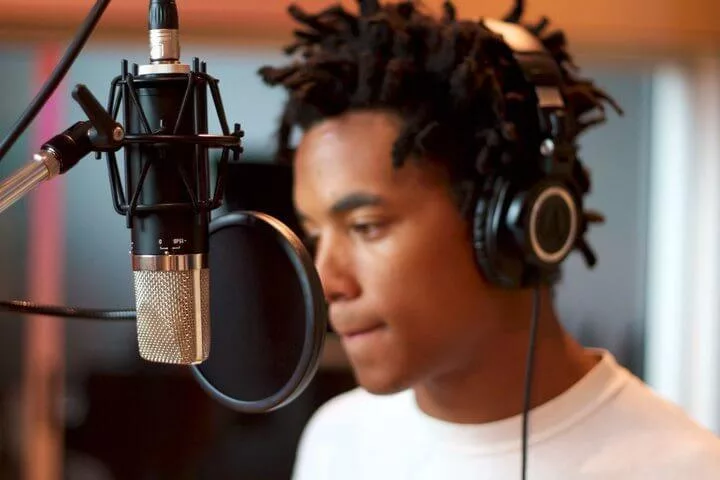
Mic Position- This is a two step process because you need to place the mic correctly in the room as well as place the singer correctly in front of the mic. First of all you don’t want to be in the middle of the room. Standing waves build up in the middle of the room and can emphasis or de-emphiasis certain frequencies. You don’t want to be too close to a wall either. The best palace is to be 30-40% away from the treated wall behind the singer. That way you have some room for frequencies to bounce off and soak into the back wall, but your not in the middle of the room either. Next we need to place the singer correctly in front of the microphone. The first order of business is a pop filter. This will help with strong p’s and ess’s. Place the pop filter about 2-3 inches away from the mic. You generally want the singer to be 6-9 inches away from the mic. So try and have the singer about 3-6 inches away from the pop filter. This will help with unwanted bass build up as well as help the singer from distorting in louder sections of the song.
Recording- Now the fun part. This is the place where lot of distortion happens. The reason? Singers can’t hear themselves and instead of turning the music down people turn the mic gain up thus creating distortion. So let’s take this one step at a time. The first part is the signal chain. It doesn’t take a rocket scientist to know that the better mic and mic pre you have the better quality of recording you will get. However this article isn’t about gear and I’m just going to assume that we have a $300 mic going into a $200 2 channel mic pre audio interface. So first thing we do is get levels. Have the artist sing the loudest part of the song so you can get levels based on that. The only knob that has any affect on your recording is the mic pre gain knob. The faders in your DAW have nothing to do with the levels from the mic to the mic pre. Adjust the level so that you can hear the singer clearly but you don’t hear any distortion. When looking at the level meter on your DAW you should have about 6-9db of headroom. If it’s clipping or is touching the top of the meter turn the mic pre gain down. Once that is set, record a pass to make sure the singer can hear themselves. If they can’t hear themselves then turn all the music down, and the headphones up. This way you aren’t changing your recording levels at all but the singer will be able to perform well because they can hear themselves.
I hope this helps some of you recording at home for the first time. As time goes on you can try new things like adding a compressor, but when first starting off the best thing to do is keep it simple. Let me know if you have any questions and make sure to comment and share!


Very cool of you to share these tips, Matty! After a fairly long layoff (shoulder surgery), I’m close to get back to doing some recording – just for fun, and to evaluate my own vocals on different tunes. I realize I HAVE been in the habit of getting too close to the mike (& windscreen). I’ll turn down the music & turn up the headphones & listen back to a trial take or two to get things right.
Thanks, Man!